Matt's Old Cars.com
Fiddling with Rambler's since 1995
Project Charity: AMX
Technical Information
Photo Gallery
Rambler American Restoration
1978 El Camino
1967 Rambler American
2007 Dodge Ram
1984 Dodge Ramcharger
Links
FAQ
Send me an e-mail:
Contact Form
Back to American Restoration Index
Fixing the Leaky Windshield in my `68 American
Part 9 - Putting It All Back Together
August 10, 2002
Although much time has passed since I last reported something new, I have actually been working on a Rambler. The problem is, there was a two week period where the Rambler I was working on wasn't mine so things have yet again slowed down. I also went to the 2002 Kenosha Transportation Homecoming show which was held on July 26th and 27th in Kenosha, Wisconsin which pretty much took care of the month of July.
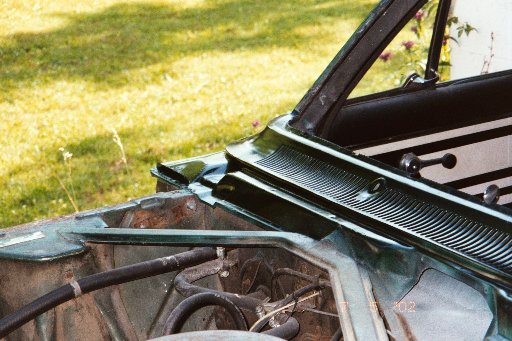
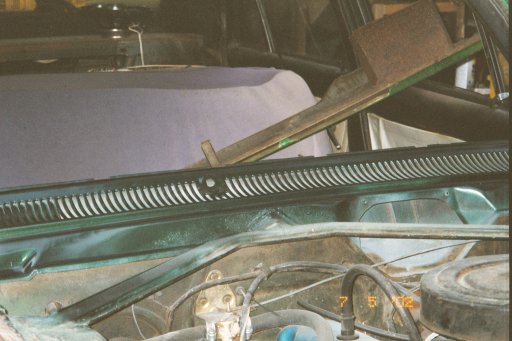
Before I get going on what I've done since the last report, here's some pictures of the repaired areas after the clear coat was applied:


One of the jobs I did manage to do in July was repaint the dash board while it was out of the car and install the dash pad from my parts car. It looks much, much better now. The dash was re-installed on August 3rd and I managed to get everything else except the ash tray and glove box re-installed during the week. The car is now back to where it can be moved (it's actually back to where it is technically drivable!) without worrying about damaging the steering column.
Also, for the first time since I've owned it, all of the under-dash wiring is back where the factory intended it to be. To do this, I needed two wire harness snap-in clips. I purchased those from Kennedy American (614-879-7283). These are part number DT712 and cost $3 each.
When I was putting the instrument panel and heater controls back in last Tuesday, I happened to look up and notice that the inner roof panel that the sun visor screws into was bent on the driver's side. The way it was bent was very interesting. The hole that the visor rod fits into on the side next to the door was pulled down about a half inch and the opposite side was pushed up about a quarter of an inch. The first question that popped into my mind was, of course, "How'd they do that?". The bracket the visor attaches with is made of pot metal and I don't think it would be strong enough to move that panel much, if at all. Since it was getting late, I decided to leave it for the next time I worked on the car.
When I went to work on the car on Wednesday, I went out and grabbed my pick hammer and started tapping away at the side that was pulled down. After about five minutes of tapping, I wasn't making any progress so I did what any frustrated gear-head would do and I grabbed a bigger hammer and my biggest pin punch (I still needed to hit it in a pretty small area). A dozen or three whacks with that combo and I pretty much had it back into shape. I grabbed the sun visor and held it in place and the rod was now parallel to the roof but it still hung down about an inch to low.
After a little more head scratchin' I took a look at the passenger side of the car and then back to the driver's side and what I saw again amazed me. Besides bending the area around the sun visor mounting holes, they had pulled the inner lip of the inner roof panel down over an inch! Needless to say, it took several very hard hits of the hammer to fix this.
I have to say that I'm glad I noticed this before I had the windshield installed. I don't think I would have felt as comfortable pounding the snot out of the roof structure with the windshield in the car!
Up Next: More assembly.
Last Updated 01/04/04 09:33:42 PM