Matt's Old Cars.com
Fiddling with Rambler's since 1995
Project Charity: AMX
Technical Information
Photo Gallery
Rambler American Restoration
1978 El Camino
1967 Rambler American
2007 Dodge Ram
1984 Dodge Ramcharger
Links
FAQ
Send me an e-mail:
Contact Form
Back to American Restoration Index
Fixing
the Leaky Windshield in my `68 American
Part 7 - The Welding is Finished!
June 3, 2002
After what seems like an eternity, I've finally finished welding in the last of the patch panels on the cowl of my car. I've put down my welding torch and soon, I can put the grinder away. Here's a mess of pictures I took while welding in the last two patches.
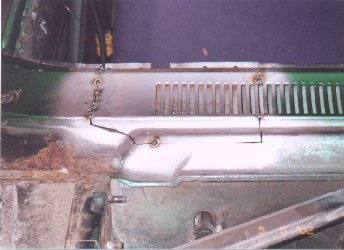
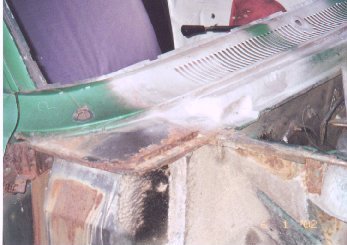
Here's the second patch panel tack welded in place. As you can
in the picture, there are a few problems with how the patch fit that I had to address
prior to going any farther. The first was that there is no gap between the patch panel and
the cowl on the front which caused a hump in the middle of the patch. This was fixed by
cutting the tack weld with a chisel to free the front of the part and running my cutoff
tool along the seam. I made two passes to get a nice even gap. Also, there are a few large
gaps in a few places around the patch. It took a lot of welding and grinding to fill these
gaps. Lesson learned: Measure twice, cut once.
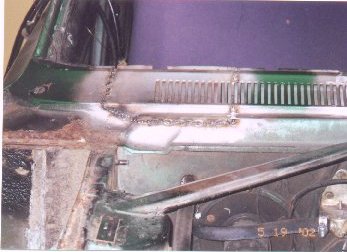
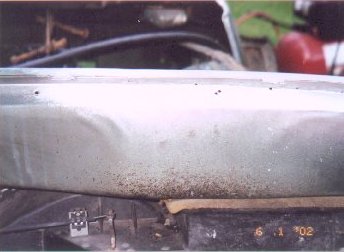
Here's the same patch after I fixed the problems noted above.
Notice that there are a few places that have a very wide weld bead. These areas are where
I had big gaps.
Despite the slip-up on measuring, I did manage to get the gap
between the slots in the cowl vents pretty nice. I think I got better alignment on the
first panel but the people I've had look at it in person haven't been able to tell any
difference.
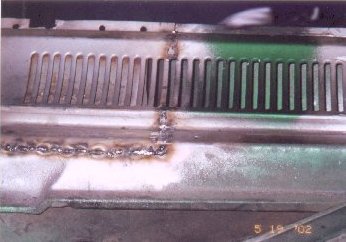
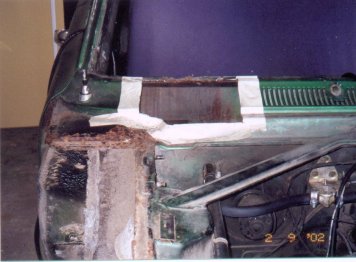
Here's the patch after many, many hours of welding and
grinding. The little bump in the seam (middle left) is where I couldn't get my angle
grinder. I ended up buying a die grinder for this (I just hate it when I have to buy a
tool!) which worked perfectly.
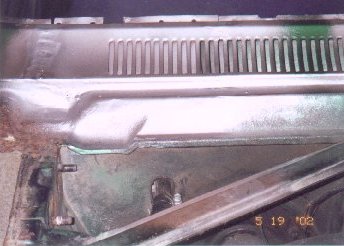
Here's the panel after a bunch of filing and grinding. I still
have a little more grinding to do along the front seam of this panel and the front seam of
the first panel I welded in but it's really starting to shape up.
Here's the third patch panel. This replaced the rusted out section of the pinch weld that I found
during the initial inspection.
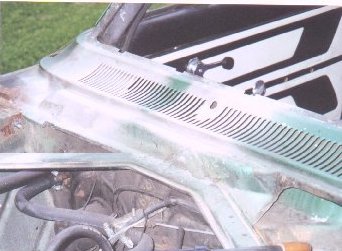
Here's the cowl with all of patches welded in and most of the
grinding done.
Up Next: The [almost] finished repair.
Last Updated 01/04/04 09:28:43 PM