Matt's Old Cars.com
Fiddling with Rambler's since 1995
Project Charity: AMX
Technical Information
Photo Gallery
Rambler American Restoration
1978 El Camino
1967 Rambler American
2007 Dodge Ram
1984 Dodge Ramcharger
Links
FAQ
Send me an e-mail:
Contact Form
Back to American Restoration Index
1967 Wagon Quarter Panel Repair
Part 11 - Putting It Back Together Part 9
April 5, 2009
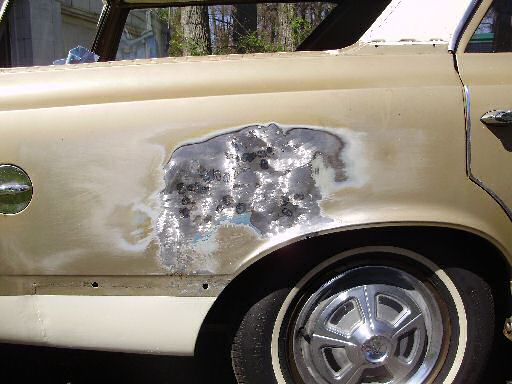
Work continued on fixing the distortion yesterday. The last time I worked on it, I had most of the repair area basically flat but there was an area above the wheel well lip that was still low. I started by welding a couple of studs to the low area with my stud welder. A few pulls on the studs and I had the low spot pulled up. There were a couple of high spots around this spot and I took care of those by using the stud welder to heat shrink them. To do that, you just press it against the high spot without a stud in it. Once the metal turns blue (about a second), release the trigger and let the metal cool. Here's an in-progress picture showing the area after the first few shrinks. As you can see, it is still not quite level but that is caused by a big high area to the left.
After that was done with this area, I ended up with a bad oil canning problem in the middle of the repair. This was caused by a lot of high spots. I stripped the rest of the paint from the area I was working in and started shrinking the high spots.
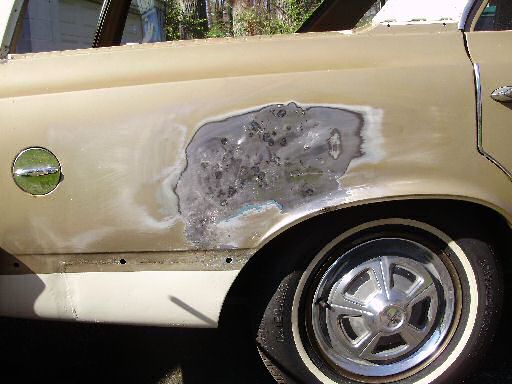
There were a few areas I had to do some welding repairs to. The first one I found was a hole that opened up in the wheel lip when I was stripping the paint. This was a soft area I missed originally. The second thing I had to repair was a crack that opened up from poor weld penetration. I fixed that by cutting the crack open and re-welding it. I also found a couple of pinholes in the original weld seam that I fixed. As you can see below, I ended up doing some more shrinking after the welding.
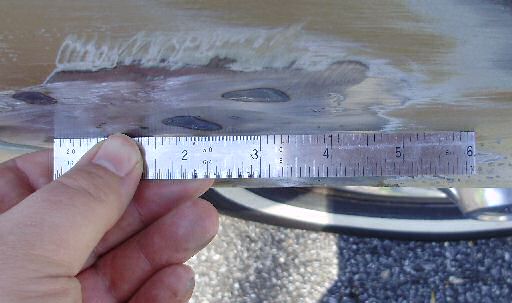
At this point, this part of the repair is just a little low (less than 1/16" inch) and the panel doesn't oil can so I'm going to stop the metal work on this part. The last thing to wrap up on this repair is the lower patch.
Up next: More body work.
Last Updated 04/18/09 05:29:04 PM