Matt's Old Cars.com
Fiddling with Rambler's since 1995
Project Charity: AMX
Technical Information
Photo Gallery
Rambler American Restoration
1978 El Camino
1967 Rambler American
2007 Dodge Ram
1984 Dodge Ramcharger
Links
FAQ
Send me an e-mail:
Contact Form
Back to American Restoration Index
1967 Wagon Quarter Panel Repair
Part 2 - Removing Rusty Parts
November 20, 2005
The important thing to keep in mind when doing rust repair is that no matter how bad things look on the outside, it's always far worse on the inside.
I took another look at the quarter panel before I started cutting and I decided I needed to go further back (towards the bumper) than I originally though I was going to. I ended moving the line back about 2 inches and ended up with the hole you see below.
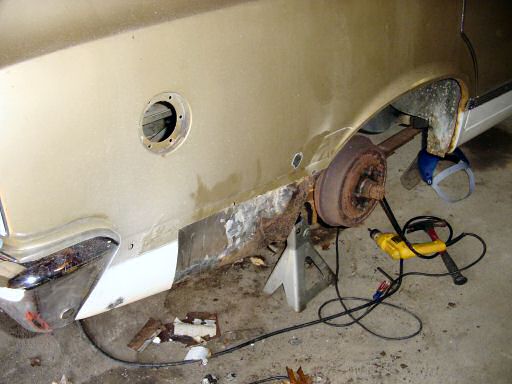
The next cut I made was the the small area just behind the wheel well. It quickly became clear that the edge of the wheel well was damaged. I also noticed light coming in from the area where the wheel well, trunk floor, and trunk extension panel come together and I suddenly understood why there were huge globs of sealer in the car. At this point, I was able to get a good look at the trunk extension panel. It needs cleaned up but it's rock solid.
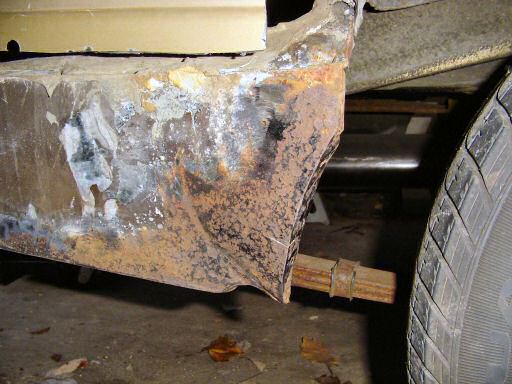
I ended up removing a nine inch section of the wheel well and to do that, I needed to make a bigger hole in the quarter. After all that cutting, I was left with this:
Here's another view of the carnage:

This hole is much bigger than the section of the quarter I bought earlier but luckily, I picked up the back half of an American to fix Kermit (that's my 68 American, for those not playing the home game) and Kermit isn't rusty in this area so I'll use the quarter patch I bought for the bottom of the wagon (you saw that last week) and a piece of the back half I bought for Kermit to fix the wheel well.
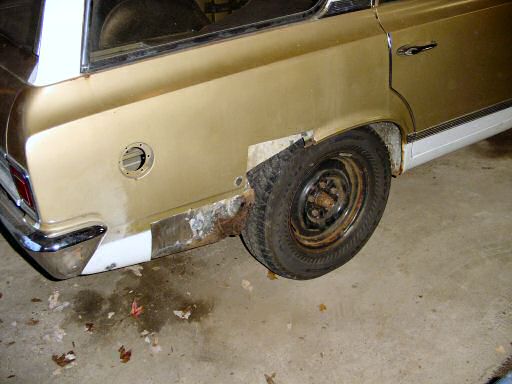
I also noticed a few other bubbles about the size of a pin head in the paint behind where I cut. It turns out the wagon's had some previous repair work done to the lower quarter and there's some filler in it (nothing too thick, less than 1/8th inch). All the filler will come out (I get to remove the bumper for that) and I'll do a couple of spot repairs where it was bubbling before putting everything back together.
Up next: Starting to put it all back together.
Last Updated 02/25/06 06:56:09 PM