Matt's Old Cars.com
Fiddling with Rambler's since 1995
Project Charity: AMX
Technical Information
Photo Gallery
Rambler American Restoration
1978 El Camino
1967 Rambler American
2007 Dodge Ram
1984 Dodge Ramcharger
Links
FAQ
Send me an e-mail:
Contact Form
Back to American Restoration Index
Heater Box
Part 5 - Blower Motor Assembly
May 27, 2008
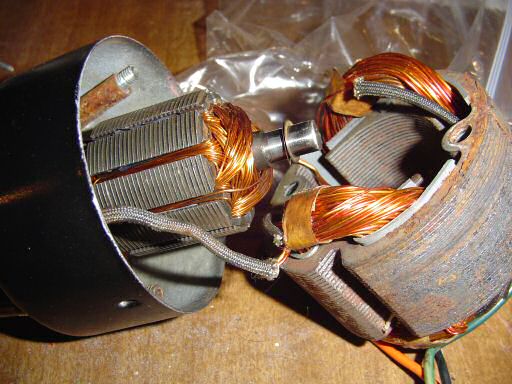
It will be a few more days before the rest of the heater box gaskets arrive. While I'm waiting on them, I'm putting the blower motor back together (mine was just cosmetically challenged). I started by media blasting the housing and repainting it gloss black. I had lots of pitting to deal with on mine but a couple rounds with spot putty, high build primer, and lots of sanding pretty much took care of them.
The first step is to reassemble the front bearing. Start by oiling the felt (it should be wet but not dripping) and dropping it into the recess in the front housing. You'll also need to oil the felt in the rear bearing. Without taking it apart, you can oil around the inside edge of the retainer. Add oil slowly and let it soak in. When it will take no more, clean up the excess.
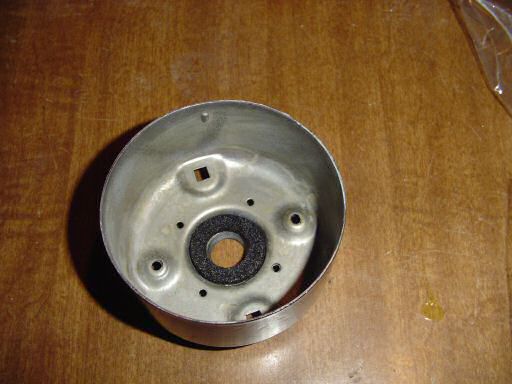
The next step is to clean the bushing and install it in the felt.
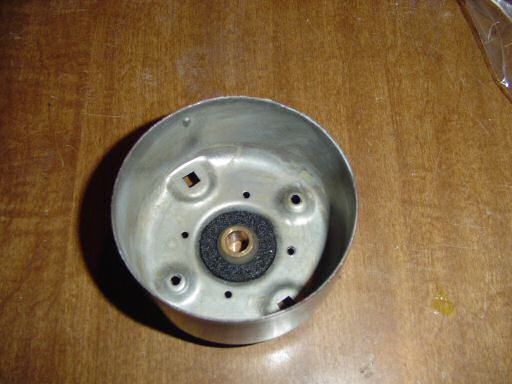
Next, install the spring washer as shown.
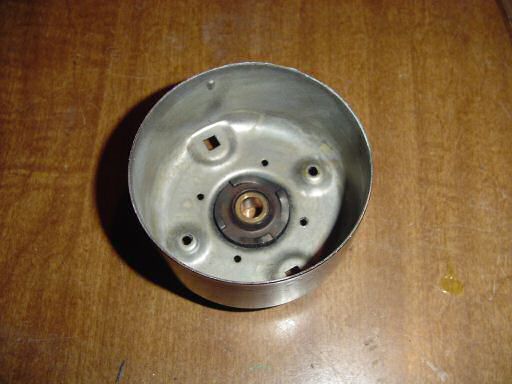
The retainer plate is installed next.
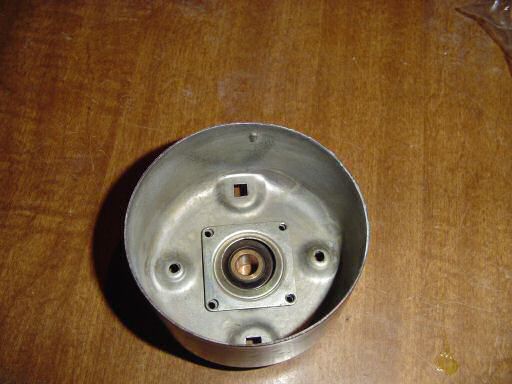
The retainer is held in with 4 - 3/32" blind rivets with a .032" - .125" grip range. These are McMaster-Carr # 97525A300 ($10.75 per box of 100). Once the retainer is riveted in place, you will see oil squeeze up around the bushing. This is a good thing so don't clean it off.
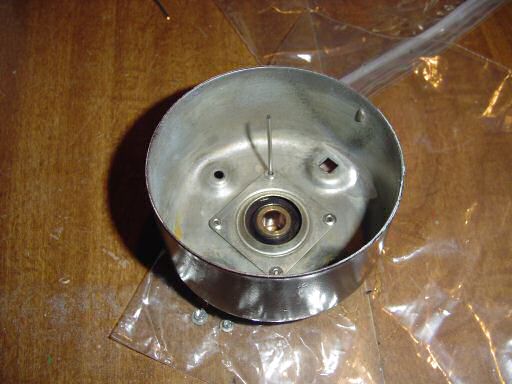
Next, install the brush plate with 2 - 1/8" blind rivets with a .063" - .125" grip range. These are McMaster-Carr # 97519A400 ($10.04 per box of 250). Make sure you install the rivets as shown so you don't crack the brush plate.
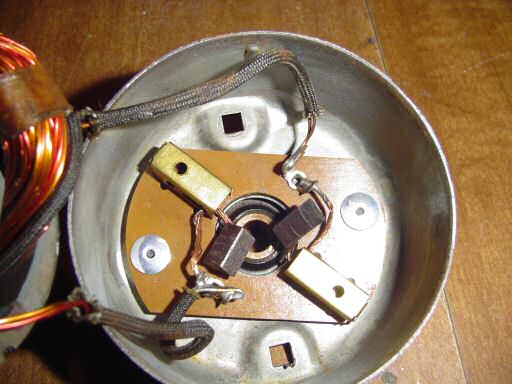
Next, install the springs behind the brushes and put the brushes in their guides. Make sure that the cupped part of the brush will fit the rotor. Retract the brushes and install the rotor. I didn't take any pictures of this since it took both hands and my chin to get it put together.
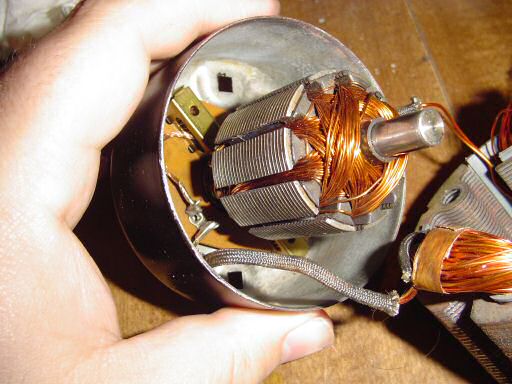
Next, install the spacers and start the through bolts.
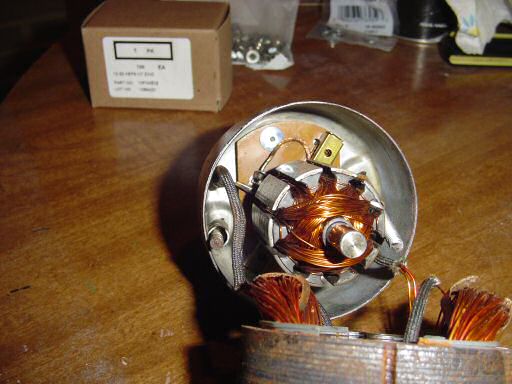
Install the shims.
Up next: Blower Motor Assembly continued
Last Updated 05/27/08 10:15:25 PM