Matt's Old Cars.com
Fiddling with Rambler's since 1995
Project Charity: AMX
Technical Information
Photo Gallery
Rambler American Restoration
1978 El Camino
1967 Rambler American
2007 Dodge Ram
1984 Dodge Ramcharger
Links
FAQ
Send me an e-mail:
Contact Form
Back to American Restoration Index
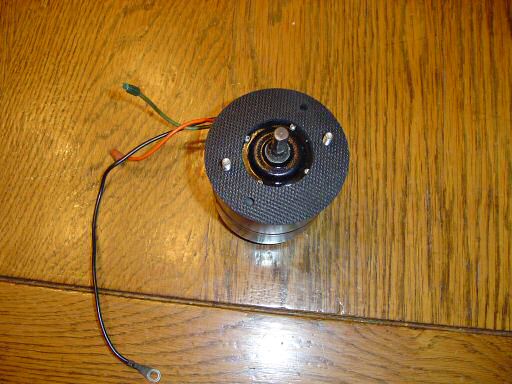
Heater Box
Part 5 - Blower Motor Assembly (continued)
May 27, 2008
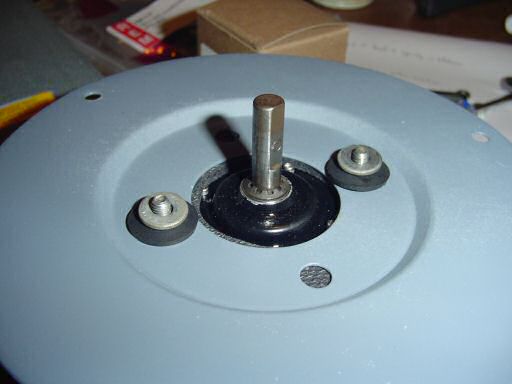
Align the slot in the case with the slot in the windings, feed the through bolts into the holes in the windings, and guide the rotor into the rear bearing.
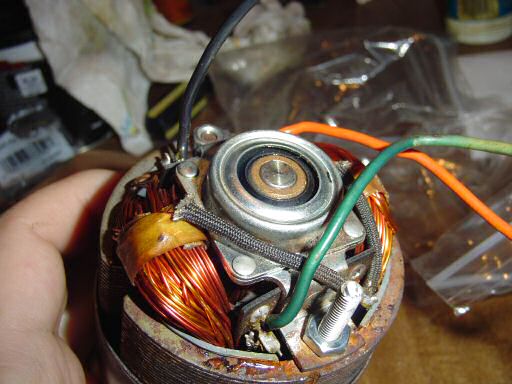
Install two 10-32 nuts and tighten.
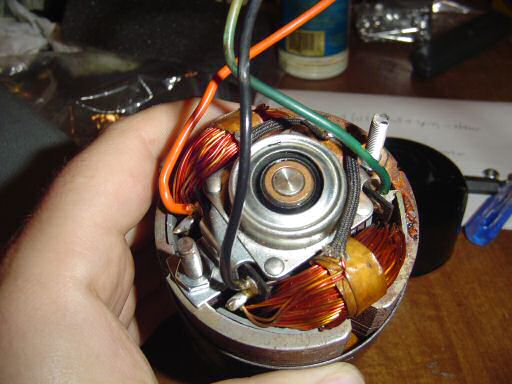
Align the rear half of the casing and install with more 10-32 nuts.
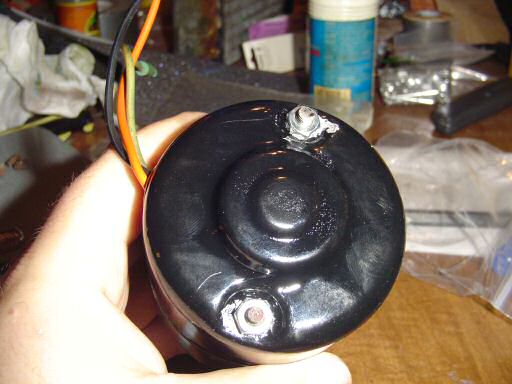
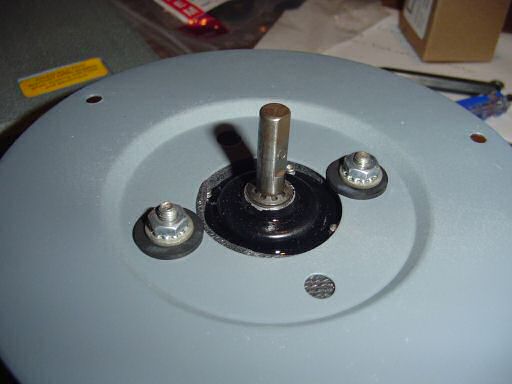
Install the front shims and retainer.
Install the motor to plate gasket. The factory used the same gasket for non-A/C and A/C cars. The A/C blower motor is bigger so there are two sets of mounting holes in it.
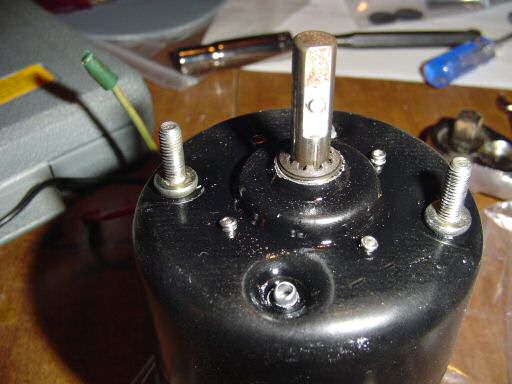
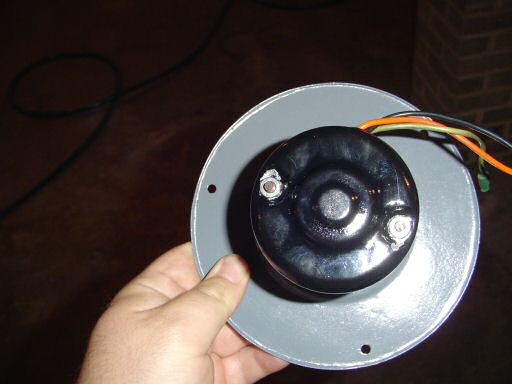
Install the mounting plate and its grommets.

Install the flat washers.
Install 2 10-32 keps nuts (these are nuts with built in star washers).
At this point, it should look like this, except turned 180 degrees.
Up Next: Final Foam Installation
Last Updated 06/12/08 10:23:42 PM