Matt's Old Cars.com
Fiddling with Rambler's since 1995
Project Charity: AMX
Technical Information
Photo Gallery
Rambler American Restoration
1978 El Camino
1967 Rambler American
2007 Dodge Ram
1984 Dodge Ramcharger
Links
FAQ
Send me an e-mail:
Contact Form
Back to American Restoration Index
Heater Box
Part 4 - Installing Air Door Foam
May 17, 2008
I'm still waiting for the corrected parts from my last post to arrive but since the foam for the air doors was perfect, I went ahead and installed the foam and starting putting the heater box back together. I figured you wouldn't want to see me scrub the heater box so I didn't take any pictures. If you need a visual, make your kids hand wash the dirty dishes in your sink.
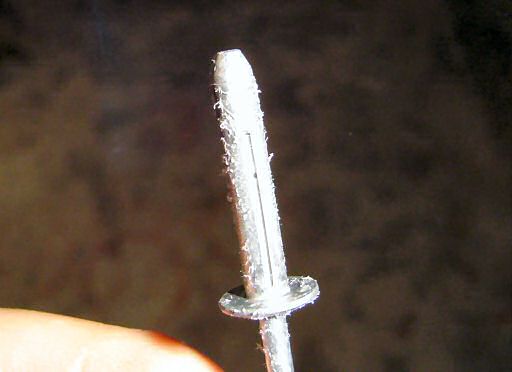
Before I dive into that, I want to touch briefly on the blind rivets (also knows as Pop Rivets, which is a brand name for them). If you use normal rivets, you will crack the fiberglass the heater box is made out of unless you use a washer with them. To get around the need for the washers, you can use what's known as a bulb or blossom rivet which expands much like a drywall anchor. I got mine from McMaster-Carr and they are part #97545A010 (5/32" diameter, .125" - .250" material thickness) which list for $12.88 for a box of 50. You'll need 17 of them for this project.
This picture shows one them as they come out of the box. They are slotted in three places.
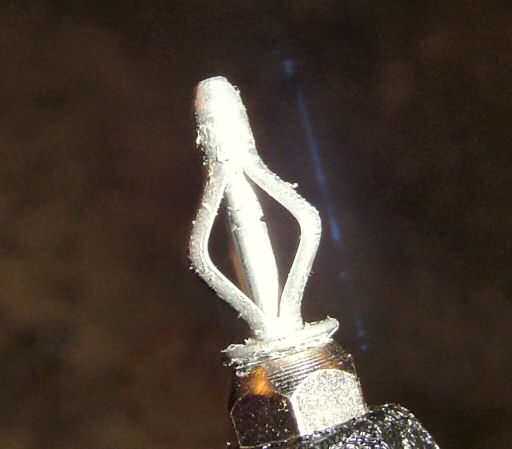
As you compress them, the sides bow out. Also notice that the mandrel has a built in weak spot so it snaps easier.
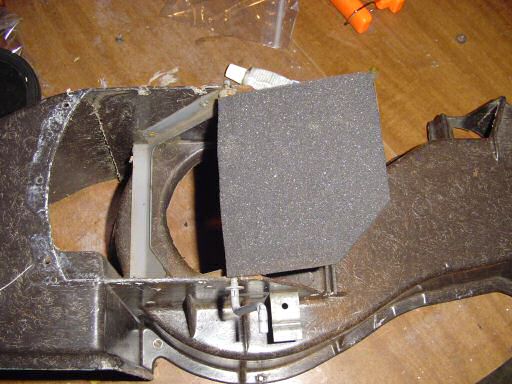
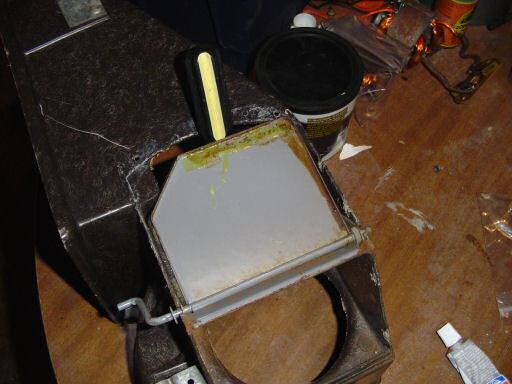
With that out the way, the next step is to glue the foam to the air doors. The foam is glued into place with contact cement. Spread it on the air door...
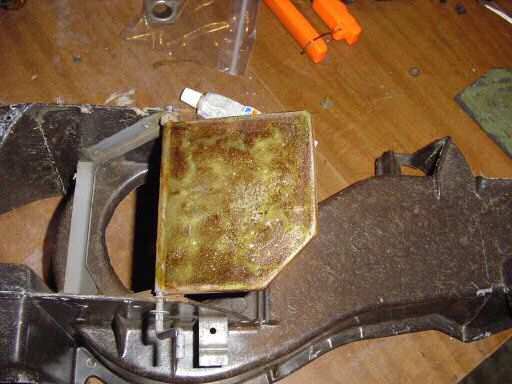
...and on the back of the foam (make sure you put the contact cement on the correct side!)
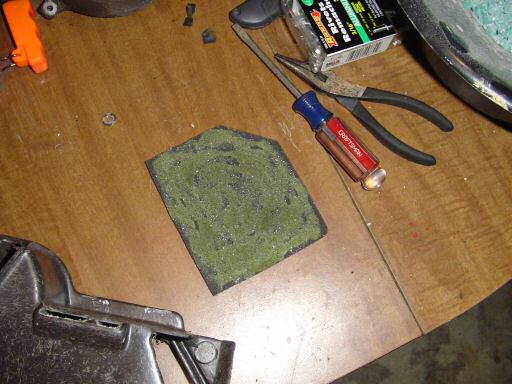
Wait 10 minutes for the cement to dry and then, being very careful to get it lined up (you have exactly one chance to get it on properly), apply the foam to the air door. I ended up stretching the foam a little and had to do some trimming to make the air door work properly.
There is a small piece of foam (part E on the previous page) that is glued to the back of the air door. Apply the contact cement as shown below.
Up next: Foam installation continued
Last Updated 05/18/08 03:35:36 PM