Matt's Old Cars.com
Fiddling with Rambler's since 1995
Project Charity: AMX
Technical Information
Photo Gallery
Rambler American Restoration
1978 El Camino
1967 Rambler American
2007 Dodge Ram
1984 Dodge Ramcharger
Links
FAQ
Send me an e-mail:
Contact Form
Back to American Restoration Index
Heater Box
Part 4 - Installing Air Door Foam (continued)
May 17, 2008
Next, apply contact cement to the heat/defrost select door.
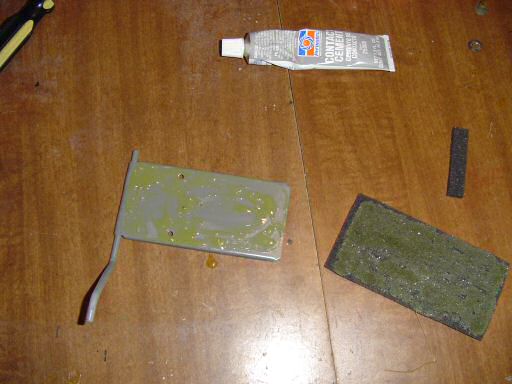
Wait 10 minutes and put the parts together.
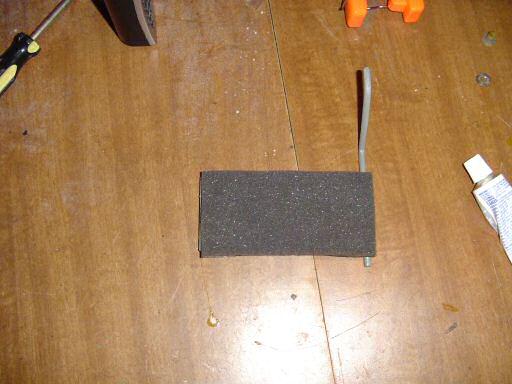
Then glue the small foam strip to the back of the air door as shown.
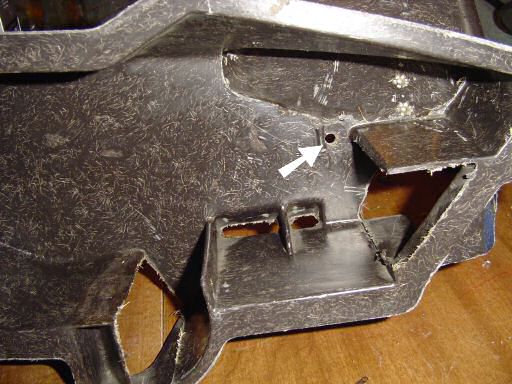
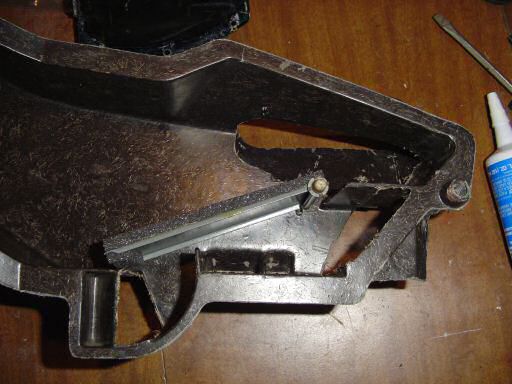
The Z-shaped end of the rod on the air door goes into the hole shown below.
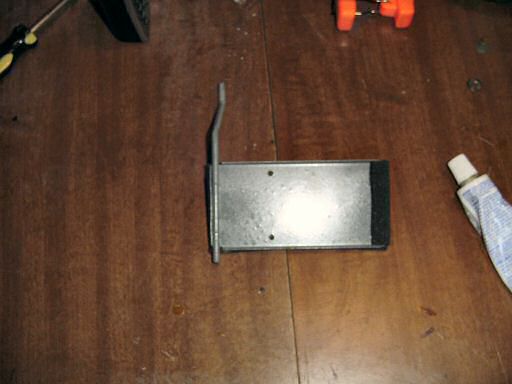
Here's the door installed in the box.

Install the plastic bushing on the end that goes through the cover.
Up next: Foam installation continued
Last Updated 05/18/08 03:30:34 PM