
Fifth Report of Work Done - East Bridgewater Stop
Week six-believe it or not, all the disassembly is done and we are now waiting for the car to go to a shop for some blasting in the wheel wells, under the hood, the trunk floor, door jambs, and probably around the windshield and rear window. I also took some time this weekend to finish disassembly of the front suspension parts. These are also ready to go to the powder coater for a finished look. Right now the front suspension parts are all incorrectly painted black, but we will get them coated as close to the natural finish as we can. We started to clean up the rear end as well. With the car gone the components can be worked on with plenty of room. Still shooting for Jan 2009 World of Wheels in Boston.
On another note, A G Backeast has agreed to redo the door data tag. Even though the Sequence numbers on the tag will be an incorrect font I do not think this should be a problem as we do have the original tag and it is not in real poor shape, just not concourse. Someone might have a problem if it was a shadow mask leather car as some people may want to add these to the tag, but this is a vinyl interior with a solid color green exterior.
Here are a few pics for the weekend:
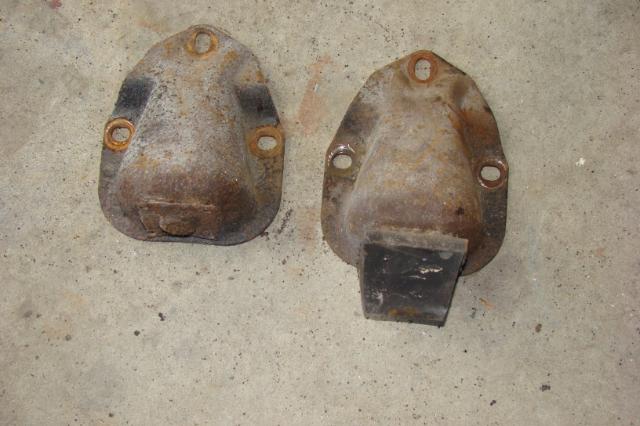
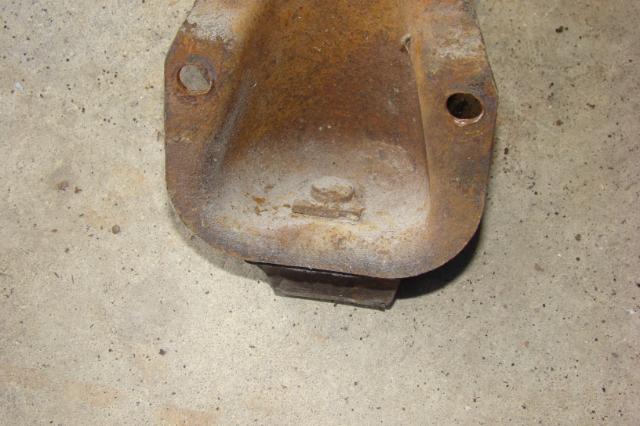
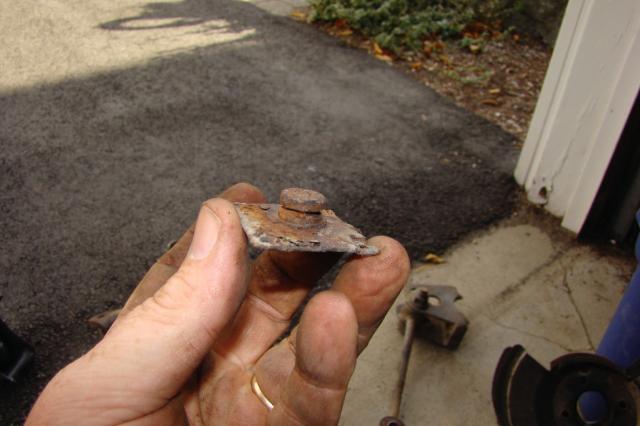
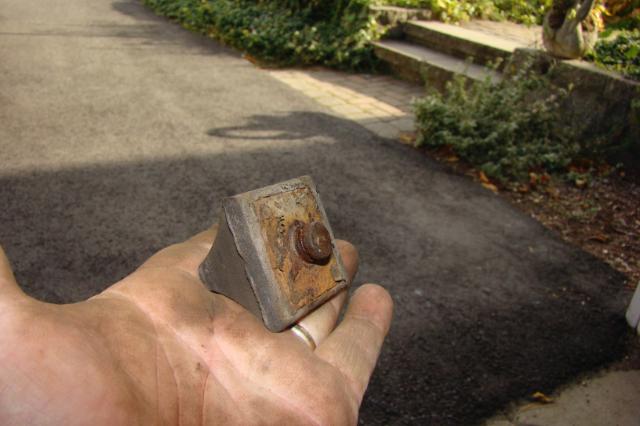
These are the rubber bumpers for the front suspension. They mount on frame rail.
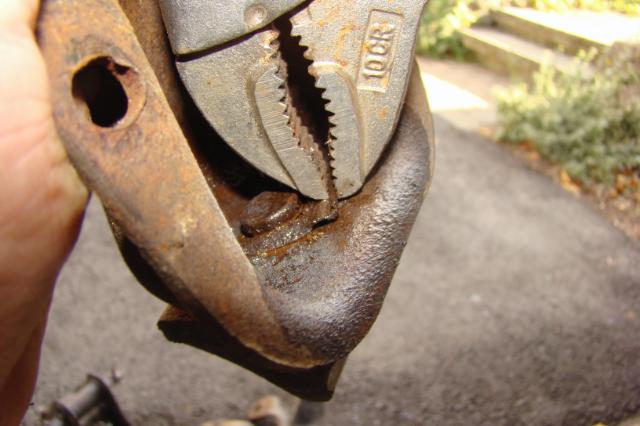
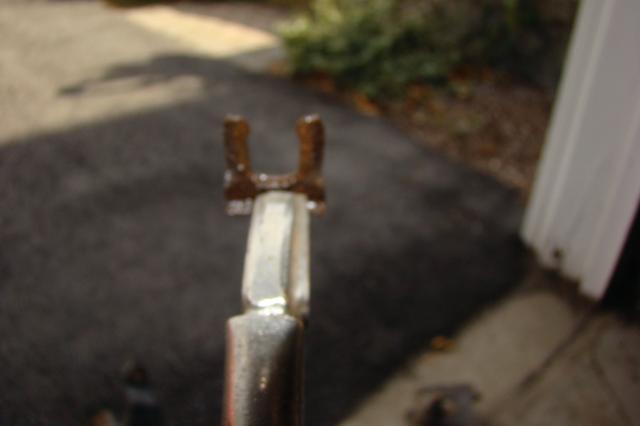
You can see one is missing the rubber bumper, but Joe has sent a replacement. It
is held in place by a clip-just remove the clip and it comes right out.
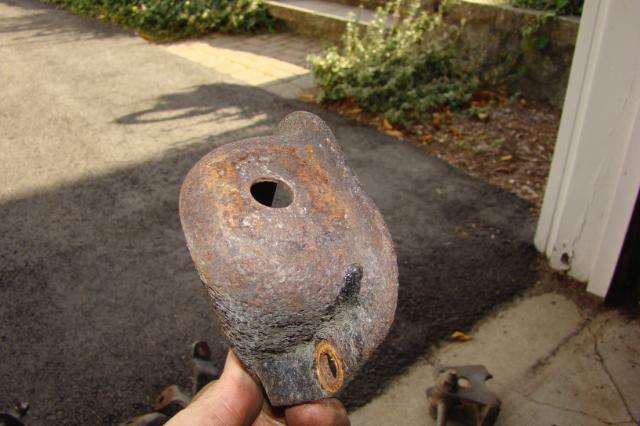
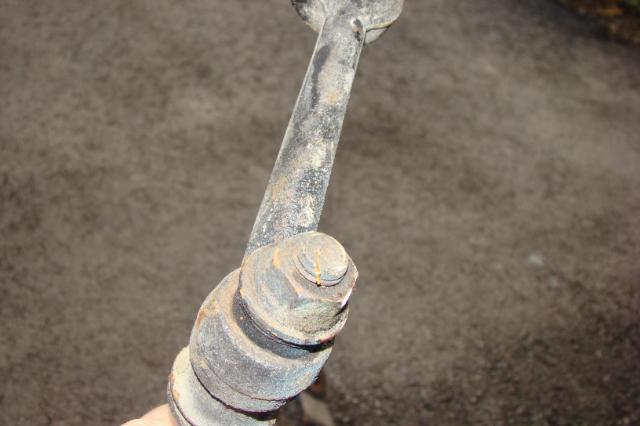
This is the idler arm-it mounts on the passenger side frame rail and connects to
the center link on one side (the steering box is on the other side). They are
easily available and will possibly be cheaper to get a new one than to restore
this one.
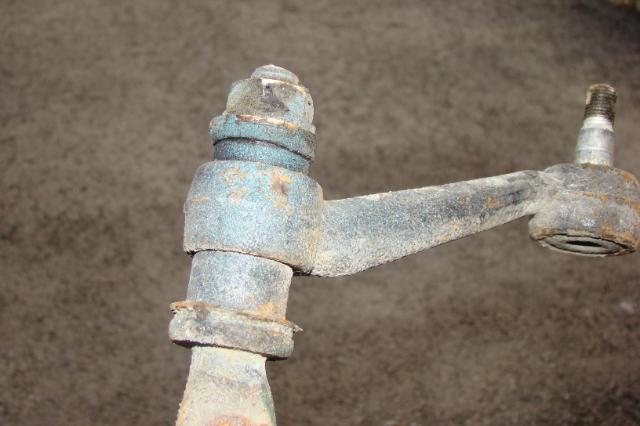
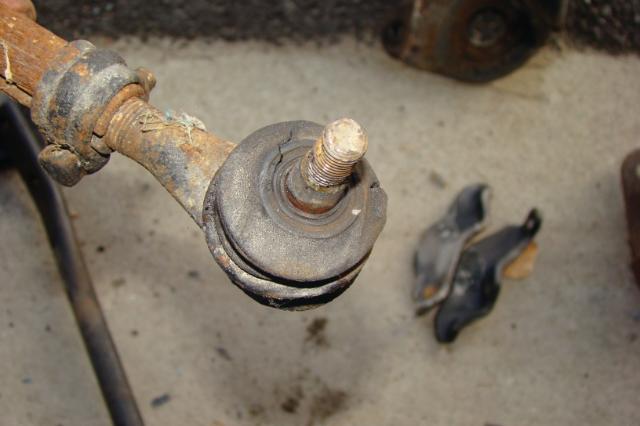
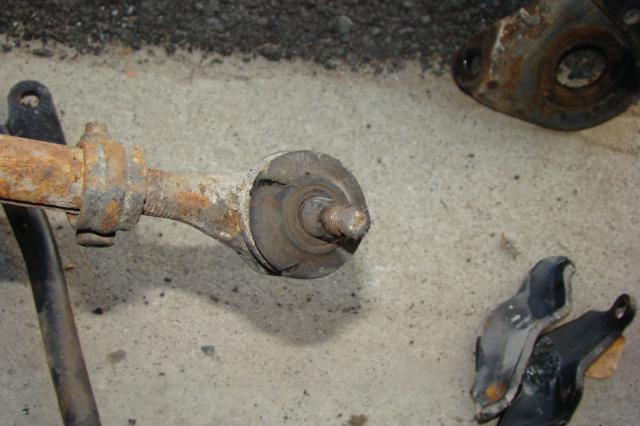
The tie rods (inner and outer-both sides) would also be cheaper to replace than
restore.
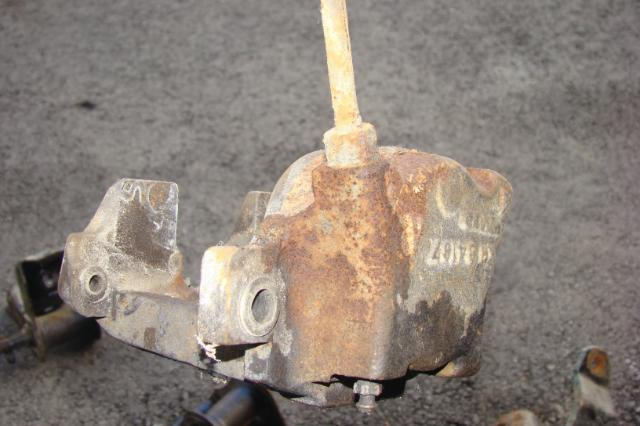
The car has the 71 style front disc brakes instead of the 4 piston style. This
was a very common swap back in the 70s and I am going to leave them on the car.
The caliper and hose will be cheaper to replace than restore.
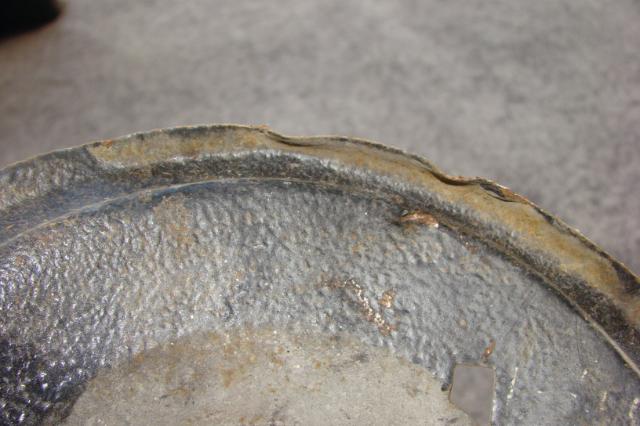
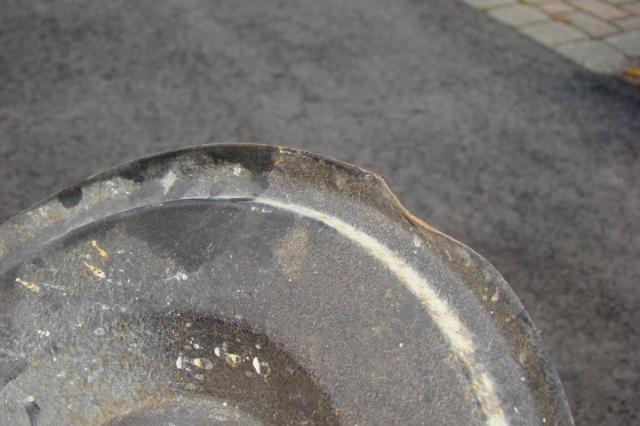
The backing plates on both sides are bent and will need some minor work.
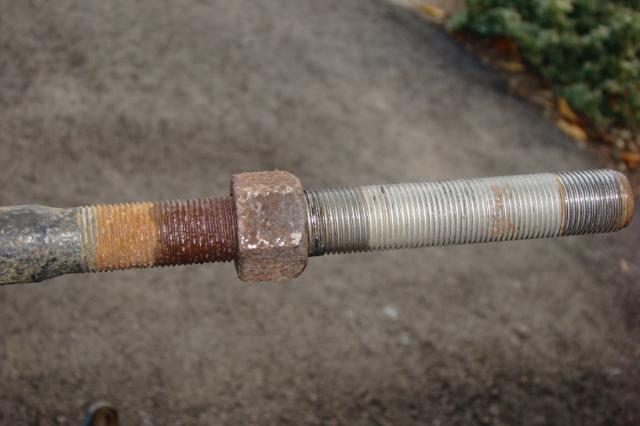
This is an adjusting nut on the strut rod. It is used to adjust the wheel
forward and back on the car (Caster). This one just doesn't want to come off at
this time, so will have to get some heat.
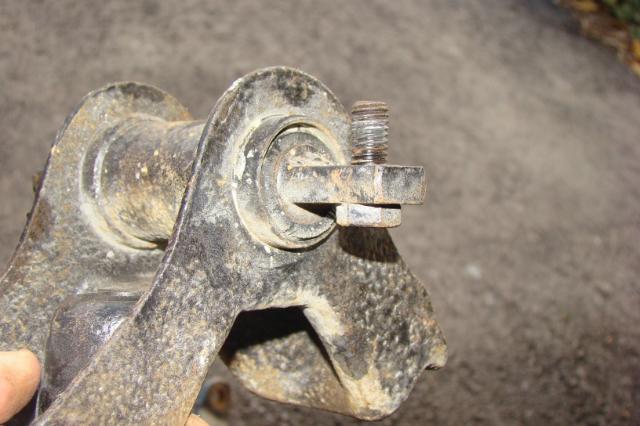
For 1970, the trunnion was eliminated and upper and lower control arms were
used. This spring seat is used to mount the bottom of the coil spring. The
bushing that goes through it is called the spindle, and they are still
available.
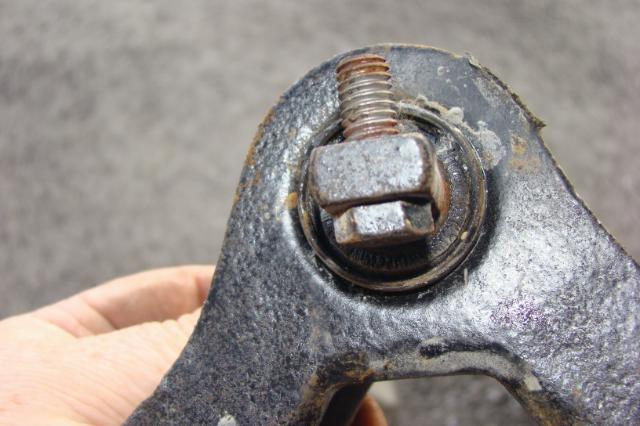
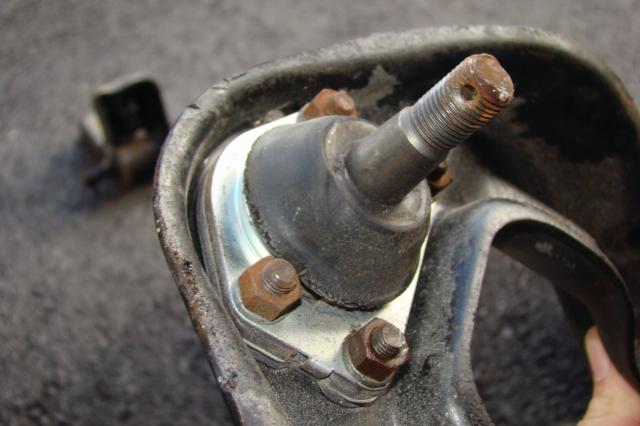
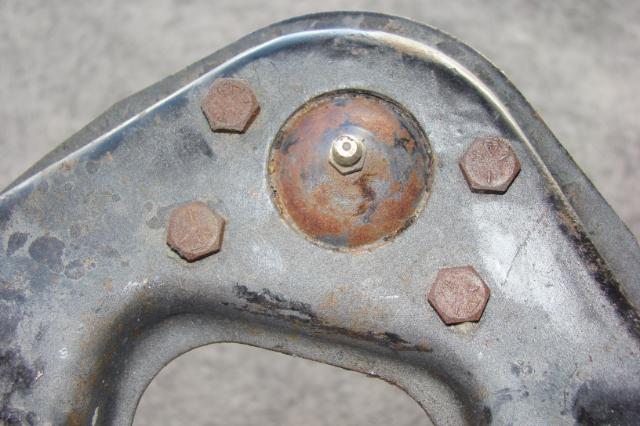
The upper control arms had brand new ball joints installed a few years ago, but
now they are weathered and will need work. The original ball joints are riveted
to the control arm. To remove the rivets it is easiest to drill a hole through
the rivet head, then knock the head off with a cold chisel. If you are buying a
low mileage car, you may want to look to see if the ball joints still have the
rivets. If not, you may wonder why they were replaced.
Here are a few pics of the torque links. these were standard on the AMX and
SCRambler (first thing to look at to verify a factory SCRambler. If they are not
there, it is not real. if they are, well, keep checking the car out. Not easy to
install, but not impossible). These were optional on Javelins as a dealer
installed kit, and standard on some Gremlins. The Gremlin links are longer than
the AMX ones. The 74-76 Bricklin used a lot of AMC parts and they had the
Gremlin style torque links. Curiously, the Bricklin club recommends removing
these and throwing them away. As a former member I could never find out exactly
why they removed them, what proof they used that they were bad, but the practice
continues. Go figure!
It is obvious these links were worked to death:
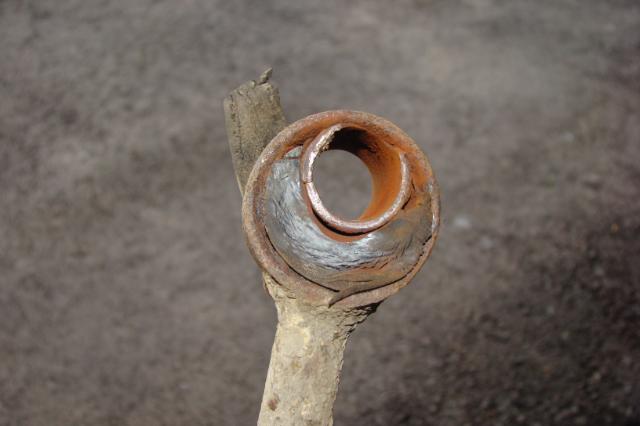
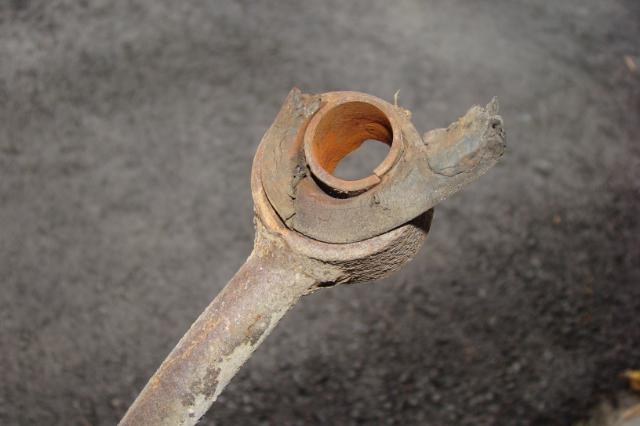
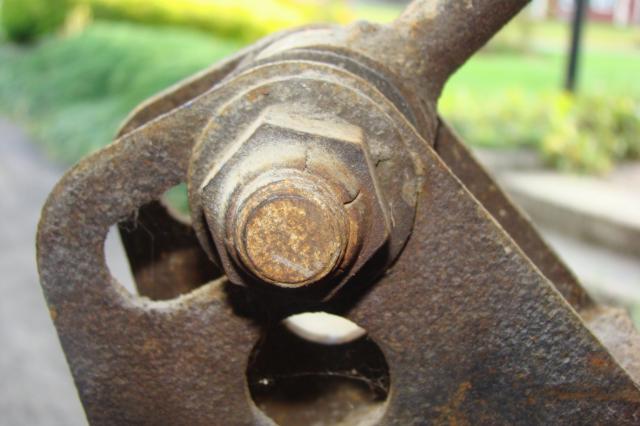
There is also an adjustment for the links which I will get into when I install
them. as you can see, these have been forced forward. (The first batch of 68
AMXs did not have this adjustment slot).
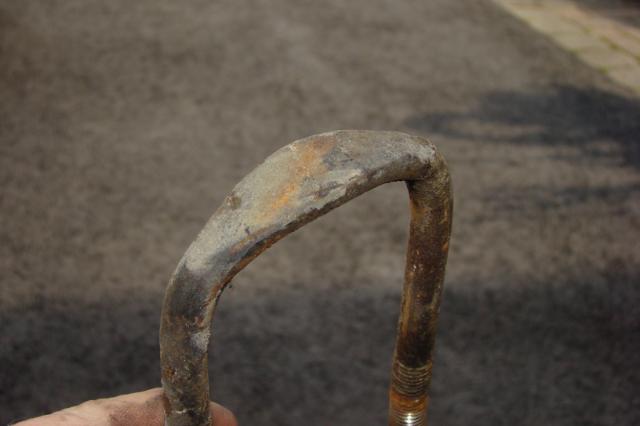
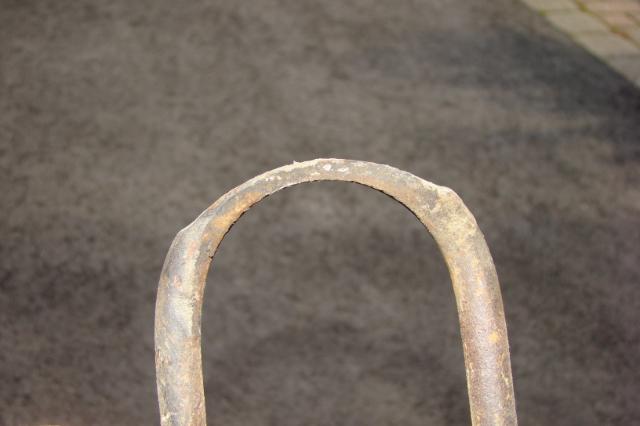
The U-bolt for the rear suspension had a flat area at the top. Most of the ones
you find today are round from one end to the other. Though it is a cheap way out
to use old bolts, it can't be helped if you want as much concours as possible.
Anyone know a source for new bolts like this?
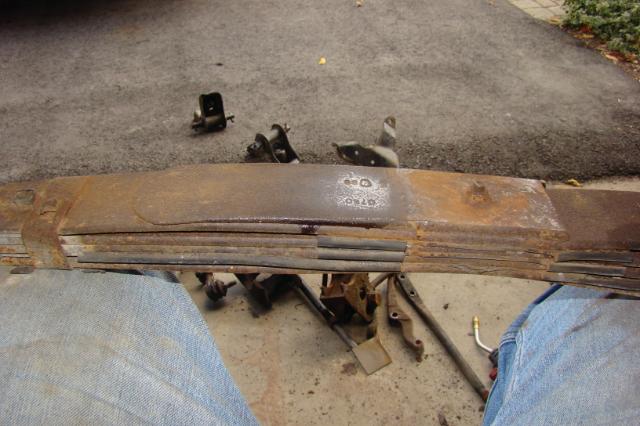
The rear leaf springs are to be replaced so I was moving them out of the way. I
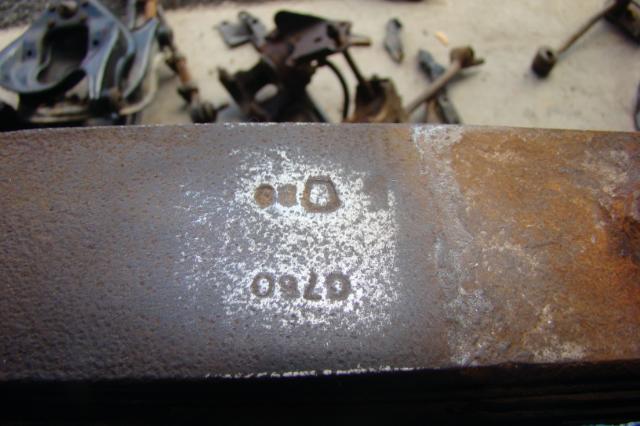
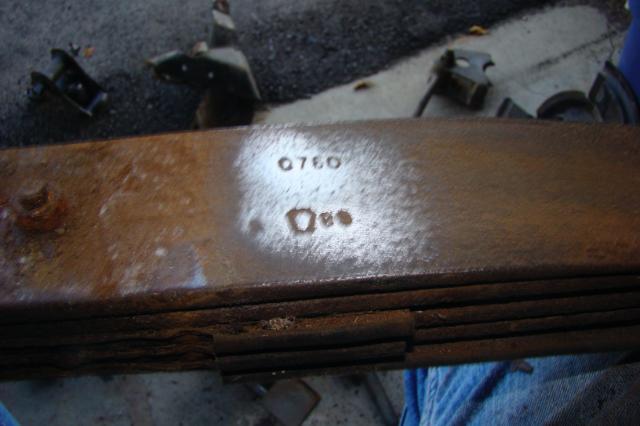
took some time to take some pics of them. Here is the date code and spring code
on the springs. The date code shows C 76 0. I thought the code decoded as month
(C=March, and it is an April car so this is correct), the last digit "0" is
1970, and I thought the "76" was the day of the month (1-31) but I guess not.
Maybe the day of the year? (76 is March 17). I'll have to look it up in my
notes.
The other code is the spring rate. In this case it is a "68". This tells me it is the standard 5 leaf rear spring, rated at 105 lbs per inch. If it was a "69" it would be the optional 5 leaf spring rated at 123 lbs. per inch. Okay, trivia question: so what does this tell us?
Here are some pics:
That's it for now. So far we have had the car for 6 weeks, and with only one
work day a week I think a lot has been done in six days!
Please look at the parts needed post. We still need an awful lot of stuff. Money also helps-again, I just ask everyone to send $10 to our PayPal account. Surely we can afford that.
Editor's note: In addition to the progress reports here, Tom Benive is posting a restoration log at http://theamcforum.com/forum/forum_posts.asp?TID=6258 featuring Hanna. Besides having a lot of pictures, Tom is doing a wonderful job of providing a step by step description of what is happening along with sharing a lot of very good tips. This update is a small sample of what Tom is sharing.