Matt's Old Cars.com
Fiddling with Rambler's since 1995
Project Charity: AMX
Technical Information
Photo Gallery
Rambler American Restoration
1978 El Camino
1967 Rambler American
2007 Dodge Ram
1984 Dodge Ramcharger
Links
FAQ
Send me an e-mail:
Contact Form
Back to American Restoration Index
Holley Model 1931 Rebuild
Carburetor Assembly (cont.)
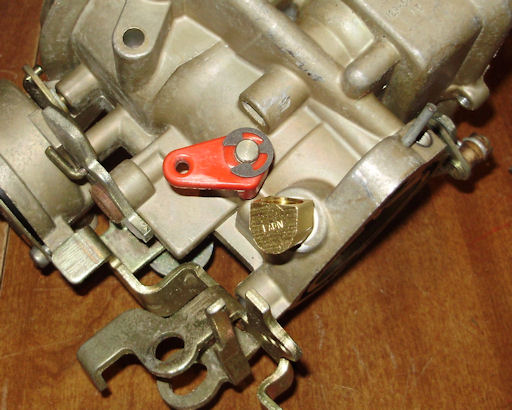
Install the accelerator pump lever and e-clip.
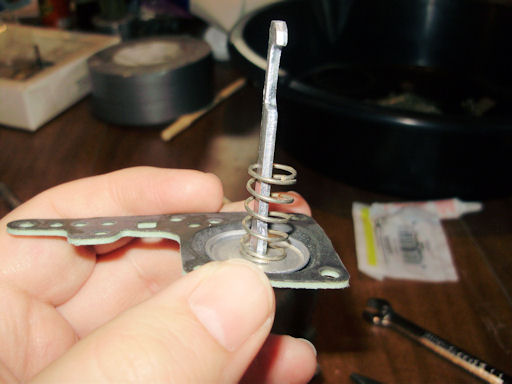
Place the accelerator pump return spring over the pump rod.
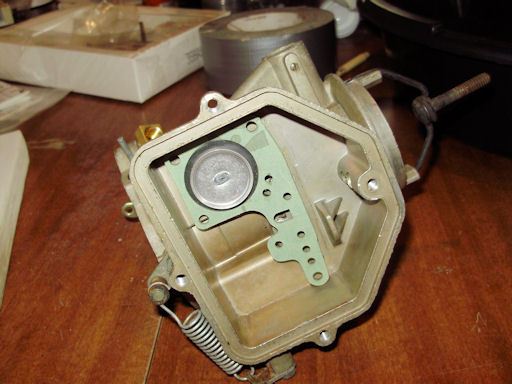
Install the accelerator pump in the carburetor body. Once the end of the pump rod is hooked over the pump lever, it will stay in place.
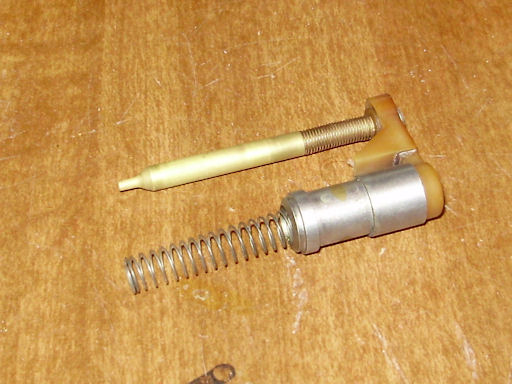
Re-assemble the power valve.
Install the power valve in the metering block.
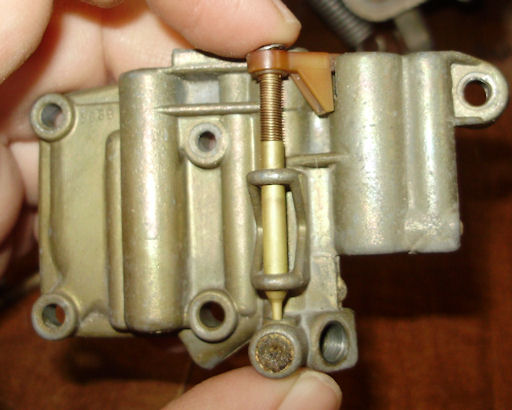
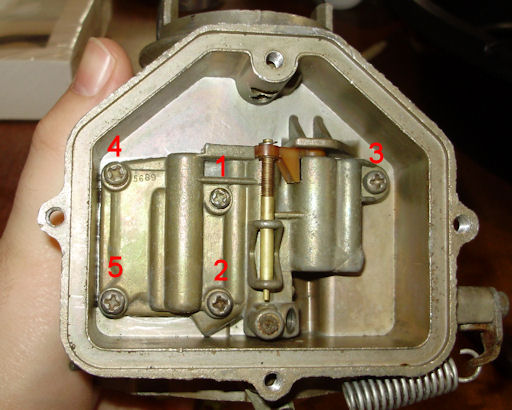
Compress the power valve and install the metering block. Install the screws and evenly tighten them using the pattern show below. Check the power valve to make sure it moves freely and snaps open when released.
Note: The smaller screw goes in position 1.
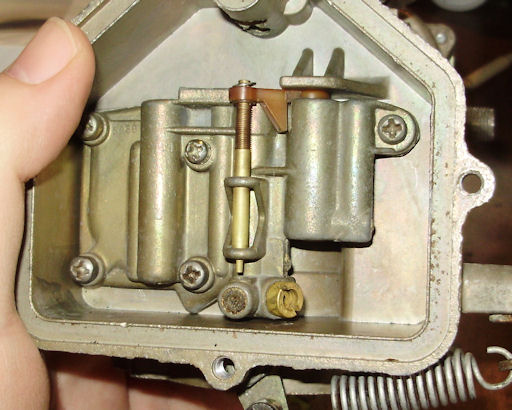
Install the jet in the metering block.
Note: If you do not have a jet removal tool, this is easier to do before the metering block is installed.
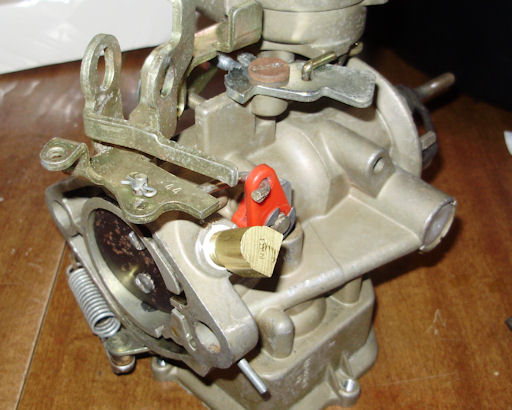
Install the accelerator pump link into the pump lever and the proper hole in the throttle lever and install the clip. The hole to use in the throttle lever is indicated in your TSM. In Kermit's case, the middle hole is used.
If you have a dashpot, re-install it now.
Install the float pivot and bracket to the float as shown below.
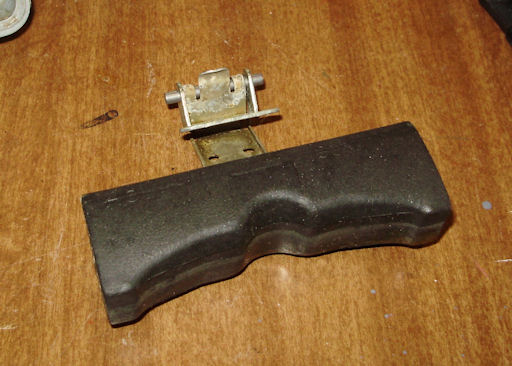
Install the float to the float bowl cover.
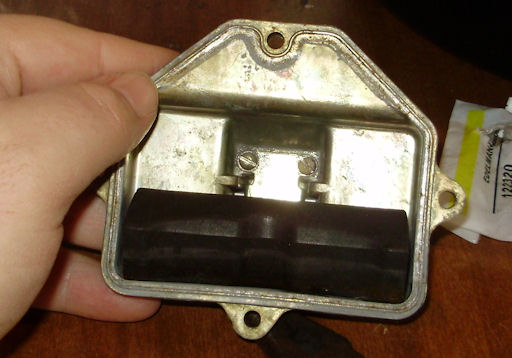
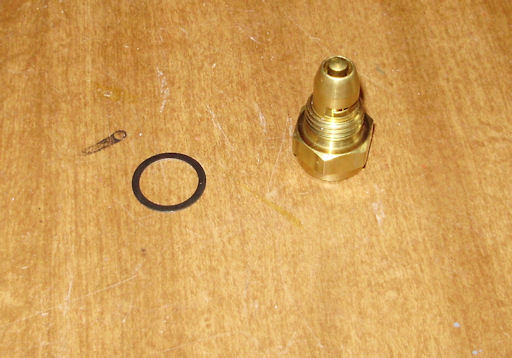
Install the needle valve and washer into the float bowl cover.
Invert the float bowl cover and measure the float settings. The rebuild kit contains a go/no-go gauge to do this. Make sure to measure the float level at both ends of the float.
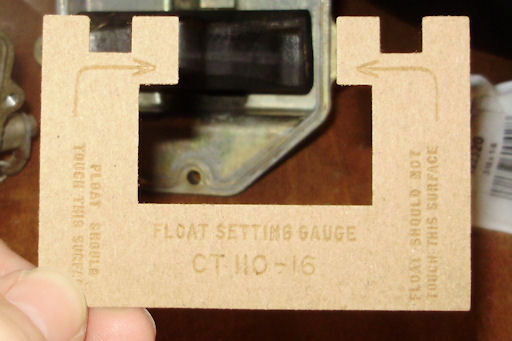
If you need to raise the float level, grab the float near the metal lever and gently pull it out. To lower it, gently push in on the depression in the center of the float. When adjusting the float level, make sure that the float is not touching the needle valve (this can damage the valve).
Last Updated 03/07/10 07:28:15 PM