Matt's Old Cars.com
Fiddling with Rambler's since 1995
Project Charity: AMX
Technical Information
Photo Gallery
Rambler American Restoration
1978 El Camino
1967 Rambler American
2007 Dodge Ram
1984 Dodge Ramcharger
Links
FAQ
Send me an e-mail:
Contact Form
Back to American Restoration Index
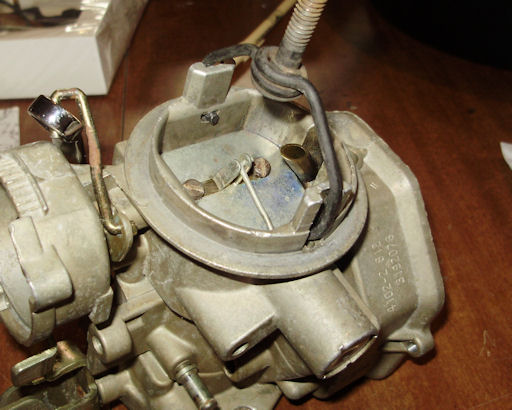
Holley Model 1931 Rebuild
Carburetor Assembly
Warning! Keep in mind that you are re-assembling a carburetor and not tightening the lug nuts on a semi. All screws should be tightened snuggly but too much force can strip threads and bend or break parts.
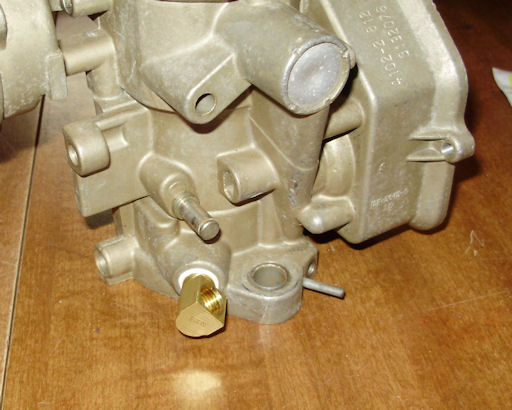
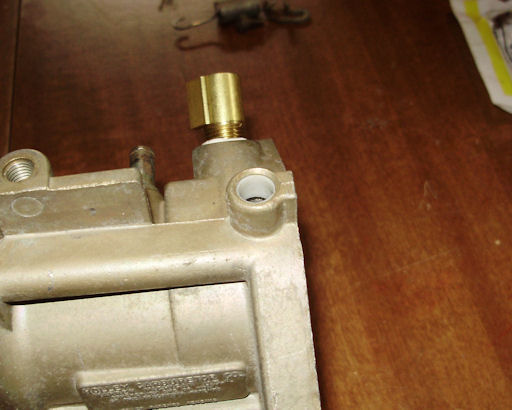
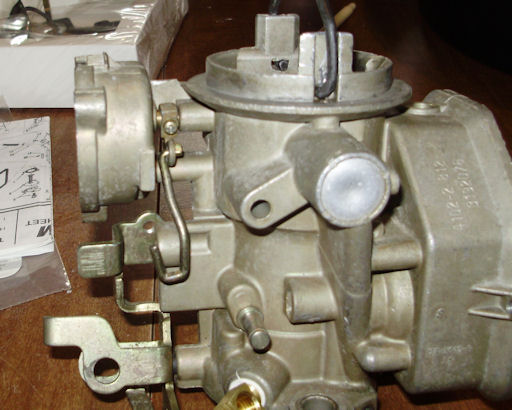
If you removed the elbow for the vacuum advance line, apply liquid Teflon sealer to the threads of the elbow and re-install. Tighten until it is just snug and pointing towards the front of the carburetor at roughly a 45 degree angle.
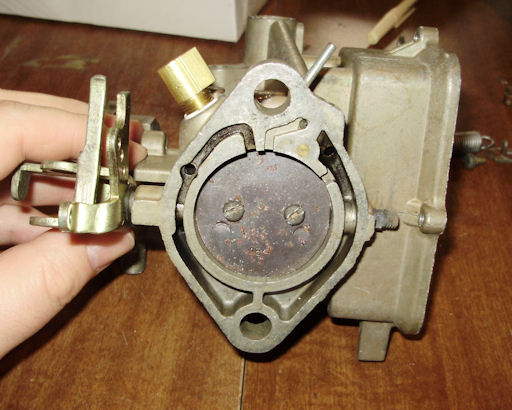
If you removed any bushings from the throttle shaft, re-install them in the same place you removed them from.
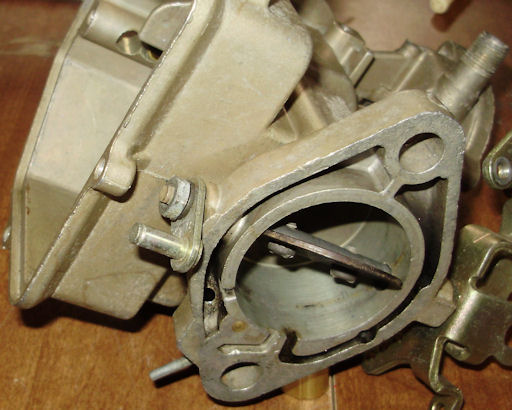
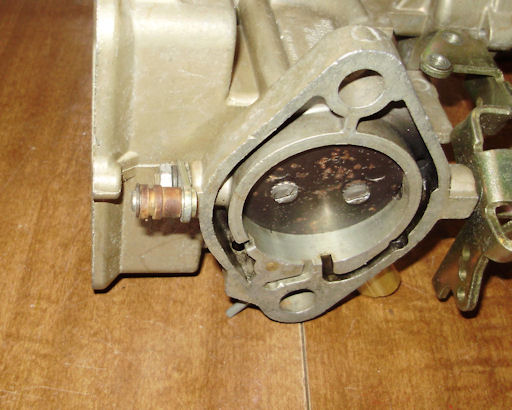
Install the throttle shaft and plate. Do not fully tighten the screws. Gently tap on the throttle plate to center it and then tighten the screws. Check operation of the throttle to make sure that there is no binding and it operates smoothly.
Install the throttle return lever, lock washer, and nut.
Install the bushing and e-clip.
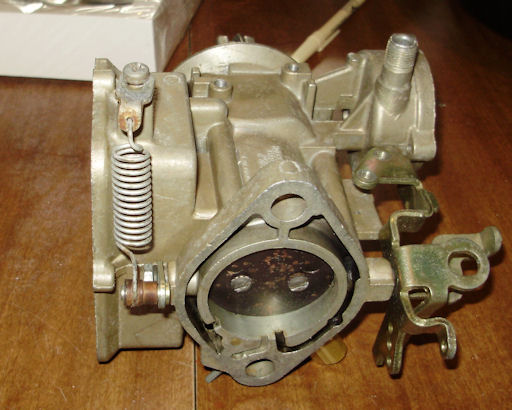
Connect the short end of the return spring to the anchor and install the anchor. Connect the long end of the spring to the bushing on the return lever.
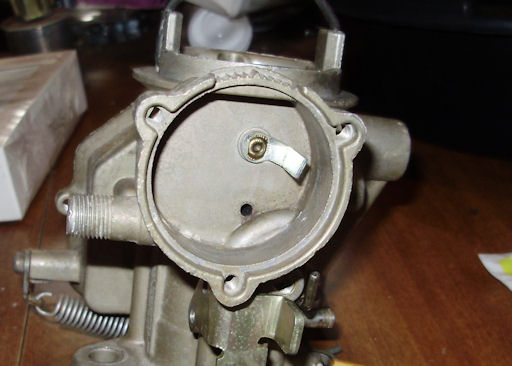
Install the fast idle cam link into the choke rod lever (see picture below for correct orientation). Place the lever in the gap between the choke housing and main body and install the choke shaft. Install the retaining screw for the choke rod lever.
With the link in the full down position as shown in the picture above, the choke thermostat lever should point to the right as shown below.
Install the choke plate following the same procedure used for the throttle plate. Put the end of the choke piston link on the hole in the tab and bend the second tab over to keep it in place. It should look like the picture below when complete.
Last Updated 03/07/10 04:36:35 PM