Matt's Old Cars.com
Fiddling with Rambler's since 1995
Project Charity: AMX
Technical Information
Photo Gallery
Rambler American Restoration
1978 El Camino
1967 Rambler American
2007 Dodge Ram
1984 Dodge Ramcharger
Links
FAQ
Send me an e-mail:
Contact Form
Back to American Restoration Index
Heater Box
Part 2 - Blower Motor Disassembly
March 27, 2008
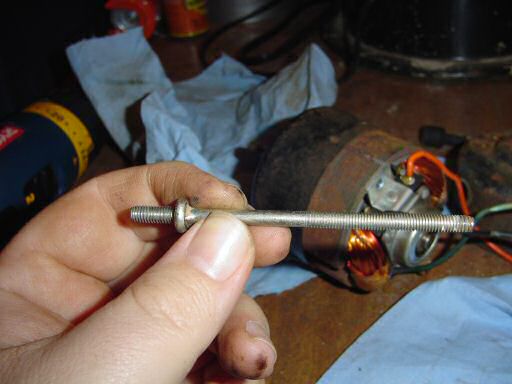
Tonight's task was to take the blower motor apart so the housing can be media blasted and re-painted. Disassembly starts by removing the two nuts shown below.
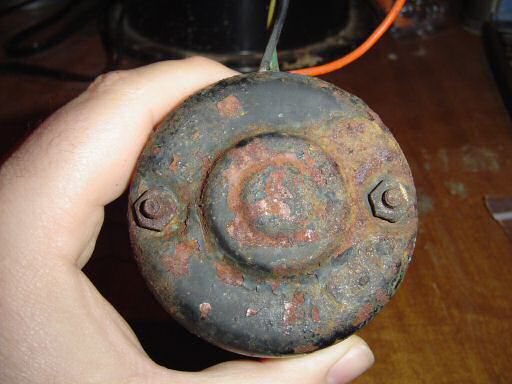
With some gentle tapping on the through bolts (leaving the nuts on a few turns helps), the end housing comes off.
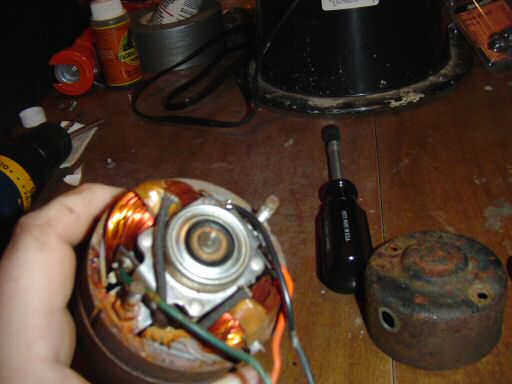
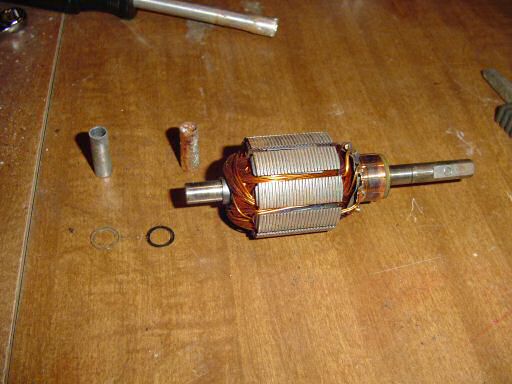
The next thing I removed is the retainer clip on the shaft. I used a couple of small screwdrivers to work it off the shaft. Once it got to the flat area, it came off easily. Also remove the two washers under it.
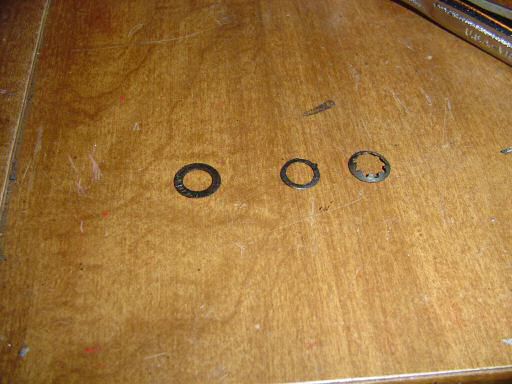
Here is the retained and two washers. They need to go on in this order.
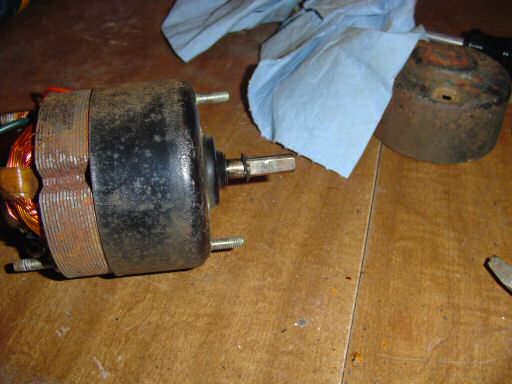
Next step is to remove the two nuts on the through bolts that are inside the housing and remove the through bolts.
Once the through bolts are out, remove the other half of the casing (there are wires attached to the brushes so work slowly), the rotor, two washers (these go on the end of the shaft), and the spacers.
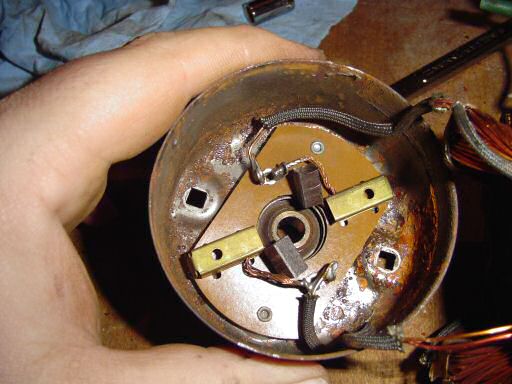
With the windings off to the side, drill out the rivets holding the brush assembly to the housing and remove the brush assembly. Note that there are two springs that go behind each brush (I already removed them).
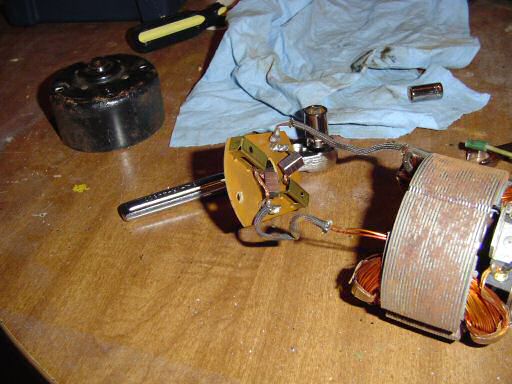
Here are the windings and brush assembly.
The last step is to drill out the four rivets holding the front bearing to the case.
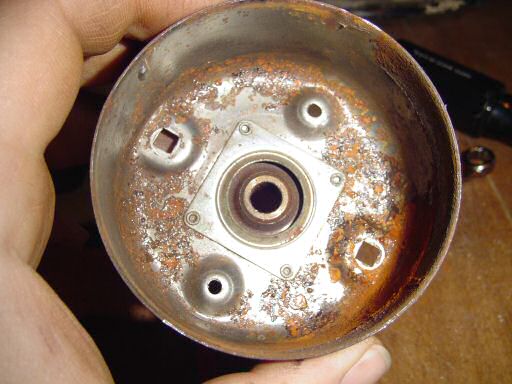
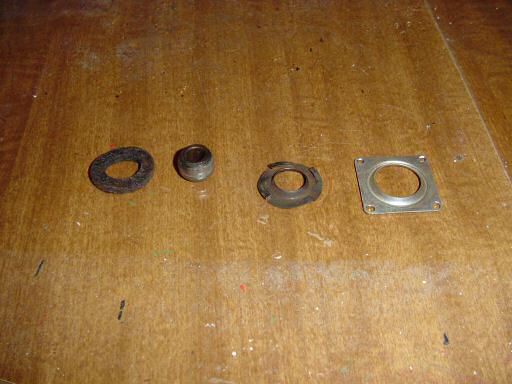
This is the bearing and the parts go in the order shown.
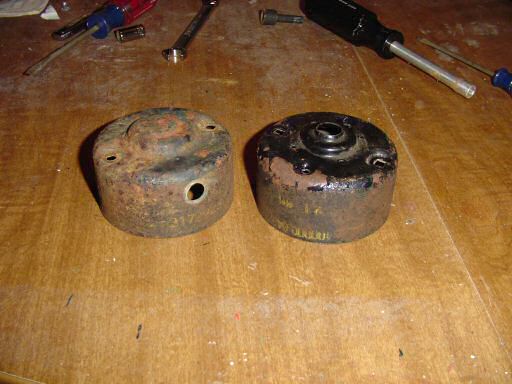
Here are the housing halves ready to be stripped. The opening for the power wires has a copper grommet in it which will be left in place.
Up next: New reproduction heater box foam kit!
Last Updated 05/09/08 08:15:47 PM