Matt's Old Cars.com
Fiddling with Rambler's since 1995
Project Charity: AMX
Technical Information
Photo Gallery
Rambler American Restoration
1978 El Camino
1967 Rambler American
2007 Dodge Ram
1984 Dodge Ramcharger
Links
FAQ
Send me an e-mail:
Contact Form
Back to American Restoration Index
Carter Dual Action Fuel Pump Rebuild
Part 6 - Assembly
Finished
December 4, 2010
The next part to install is the piston for the vacuum pump. If you have not already done so, install a new o-ring on the piston. Lightly lube the o-ring, shaft, and piston bore with engine oil and place the piston into the bore. Use a thin feeler gauge to work the lower edge of the o-ring into the bore. Once it is started, a few light whacks with a hammer will push the piston down. Once that is done, set the new gasket into place.
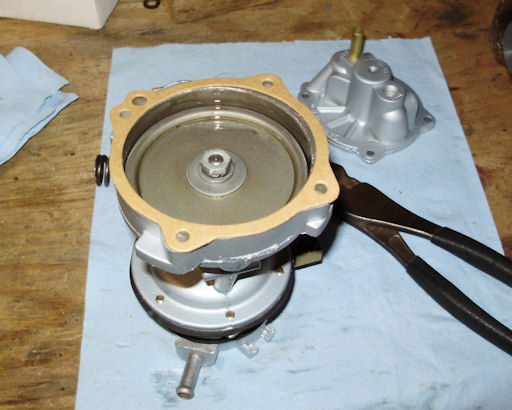
Set the large spring on top of the piston and line up the cover. There is a vacuum passage next to one of the screw holes so it only goes on one way.
Push down on the cover and install the screws being very careful not to cross thread them. Make sure that you keep tension on the cover until all of the screws are started. Doing this will keep the cover from warping. Once the cover is in place, install the fitting for the vacuum line.

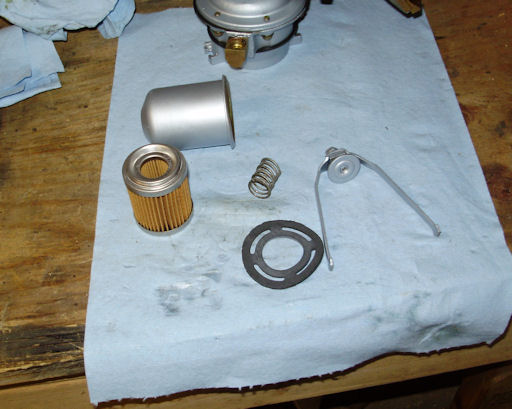
The last thing to assemble on 1968 and older pumps is the fuel filter. The picture below shows the parts that make up the filter assembly. You can obviously do this in the car but it is far easier to put the pump upside in the vice and do it before you install the pump. The order is: gasket, filter, spring, fuel bowl, and retainer. Once it is installed, gently tighten the screw in the retainer. One turn past finger tight worked for me. If you tighten it too much, you'll ruin the fuel bowl. The filter I used is Wix #33038. This was readily available at a local parts store.
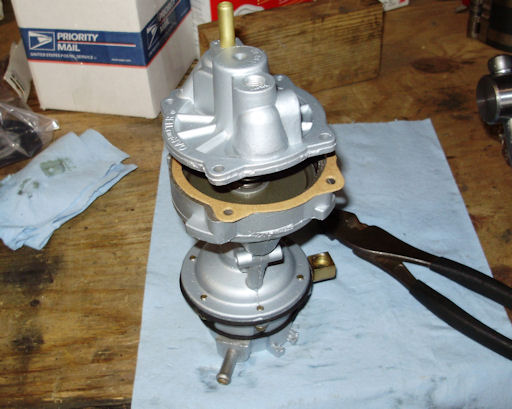
The only thing left to do is install the pump on the car and change the oil. It would be a good idea to put a little assembly lube on the pump arm before you install it. The only trick to remember is if the pump doesn't want to go in easily, turn the engine a little bit to take the tension off of the pump arm.
Last Updated 12/05/10 03:57:59 PM