Matt's Old Cars.com
Fiddling with Rambler's since 1995
Project Charity: AMX
Technical Information
Photo Gallery
Rambler American Restoration
1978 El Camino
1967 Rambler American
2007 Dodge Ram
1984 Dodge Ramcharger
Links
FAQ
Send me an e-mail:
Contact Form
Back to American Restoration Index
Carter Dual Action Fuel Pump Rebuild
Part 4 -
Assembly Continued
December 4, 2010
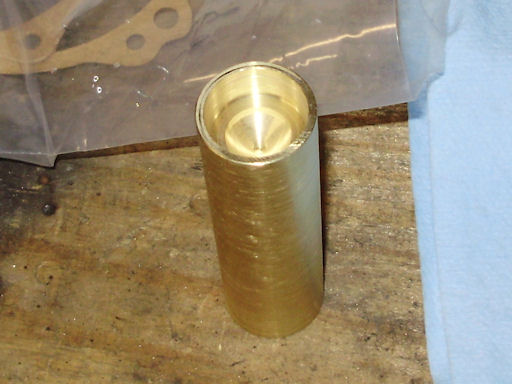
The next step in the rebuild is to install the check valves in the vacuum section. To do that, you'll need to make a tool to drive them in. Here is the tool my dad made for me to do this. It has a .88" OD, a .74" ID, the hole is .33" deep, and it is about 3" long.
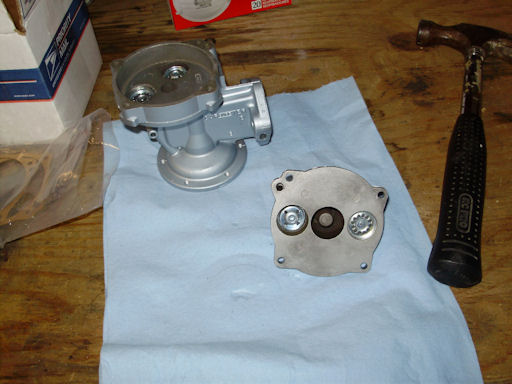
Once you have the tool, the check valves drive right in. The only trick to this part is to make sure you have them in the correct positions or you'll have no vacuum signal to the wiper motor.
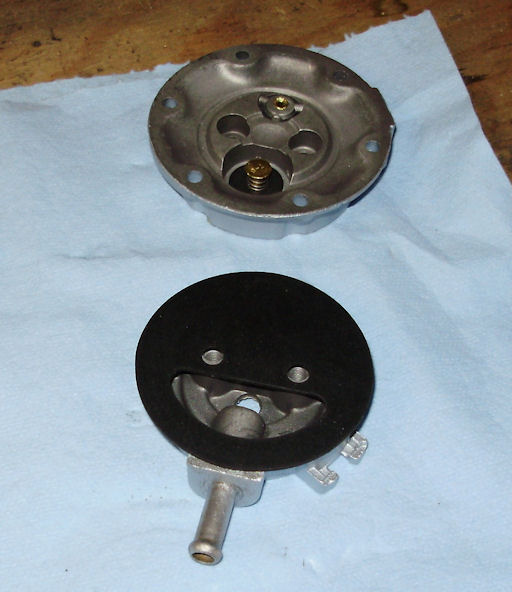
Next, install the pulsator diaphragm. Make sure this is installed correctly or the fuel section will not work.
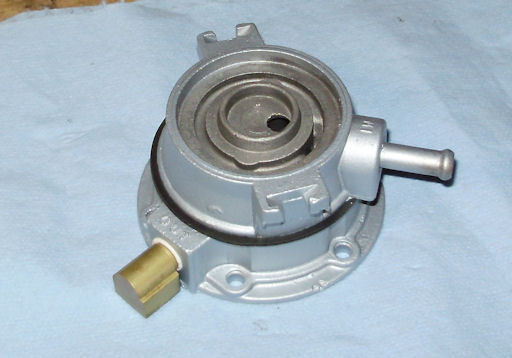
Line up the reference marks made earlier and install the two large flat head screws. This would also be a good time to install the fitting for the fuel line. Make sure to use some liquid Teflon sealant on the threads. For six cylinder cars, the assembly will look like this when completed.
Up Next: Assembly continued.
Last Updated 12/04/10 02:33:29 PM