Matt's Old Cars.com
Fiddling with Rambler's since 1995
Project Charity: AMX
Technical Information
Photo Gallery
Rambler American Restoration
1978 El Camino
1967 Rambler American
2007 Dodge Ram
1984 Dodge Ramcharger
Links
FAQ
Send me an e-mail:
Contact Form
Back to American Restoration Index
Heater Box
Part 6 - Final Foam Installation
May 29, 2008
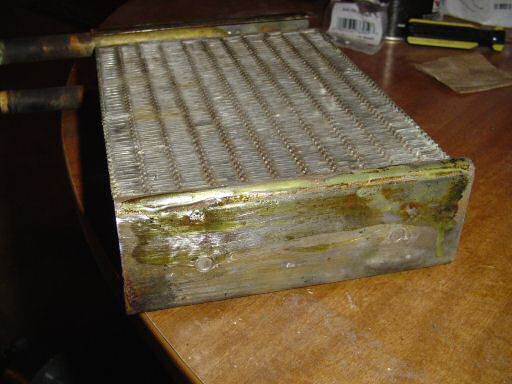
The corrected gaskets arrived today so I wasted no time installing them. If you haven't done so yet, make sure to pick all of the leaves and other junk out of the heater core so air flows through it better. You will also need to scrape all of the old gasket material off of the core so the new ones fit properly.
Spread contact cement as shown on both ends of the heater core. Make sure to get it on the bottom end of the core as well since the gasket wraps around the end of the heater core.
Apply contact cement to the end gaskets as shown below.
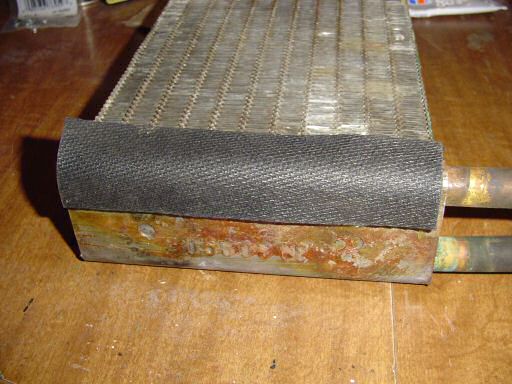
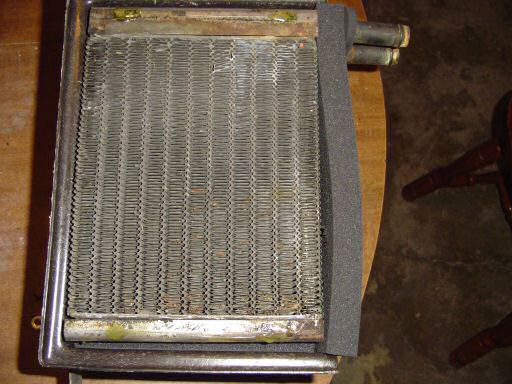
Install the heater core as shown. There will be some resistance as the heater core goes in.
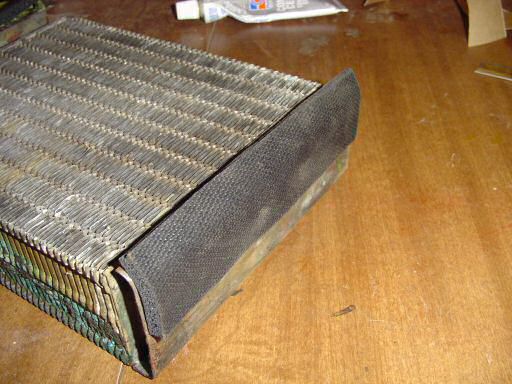
Install the heater core front seal. No glue is needed. Note that this gasket is a little long (1/8" to be exact) which makes it bow a little. This was done on purpose so it can also be used on 1968 and 1969 model years as well. The foam is very soft so this will not be a problem.
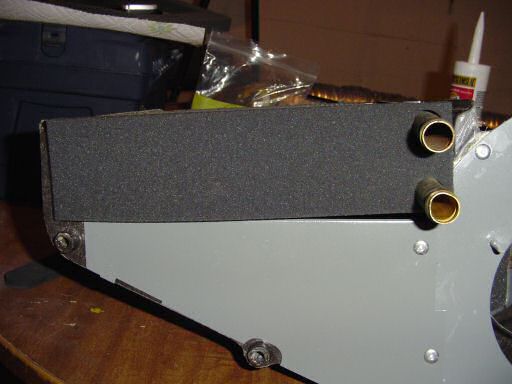
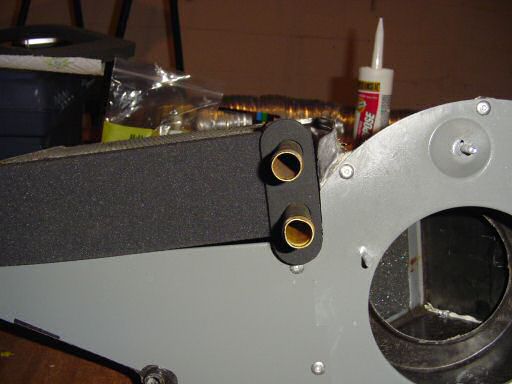
Install the tube seal. The long end goes on the bottom.
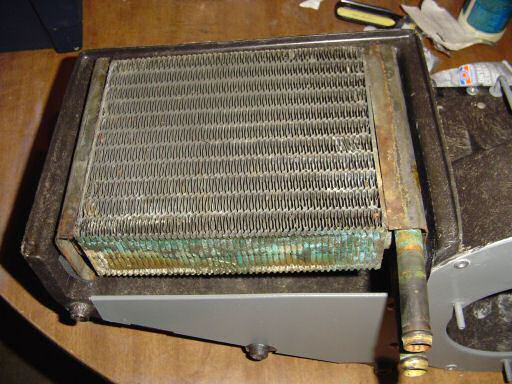
Apply contact cement to a few places on top of the heater core. It was applied to the entire length from the factory but doing it this way should allow the gasket to be removed if the heater core needs replaced.
Apply contact cement on the heater core to cowl gasket.
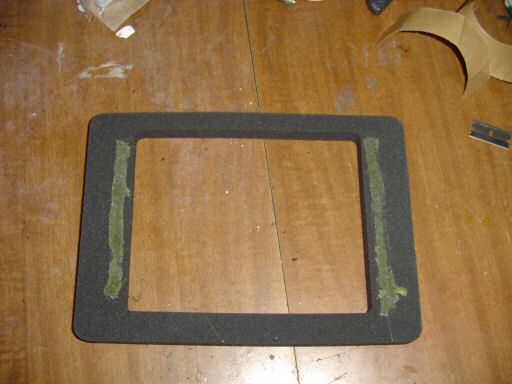
Install the gasket as shown. The thin side of the gasket goes over the heater core front gasket.

At this point, the heater box is ready to install.
Last Updated 05/29/08 09:08:14 PM